Inventor Projects
Autodesk Inventor is a computer application where you can create models and parts in 3D Space
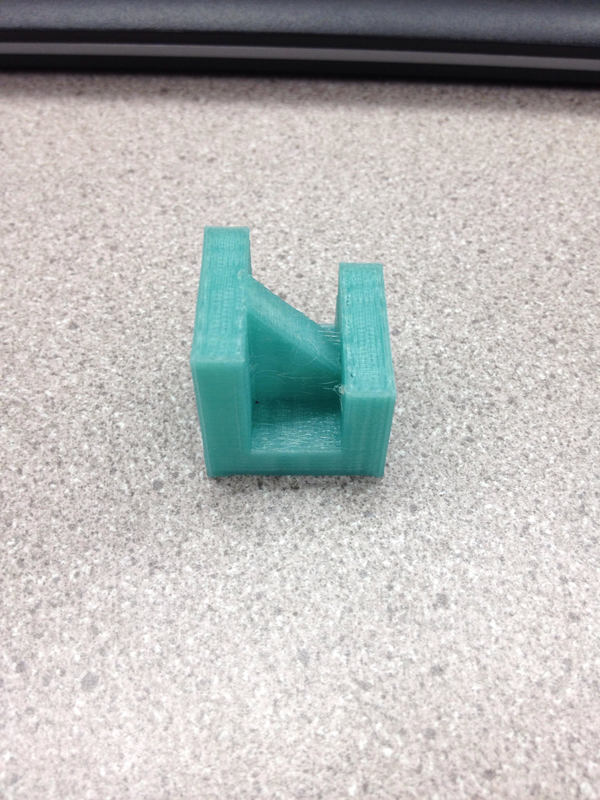
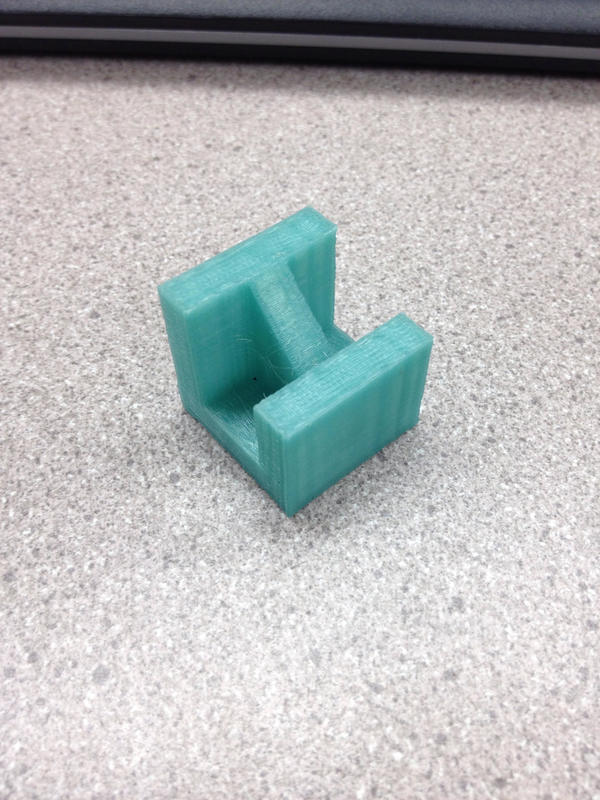
Widget 2 3D Print Results
Step by Step Widget 2
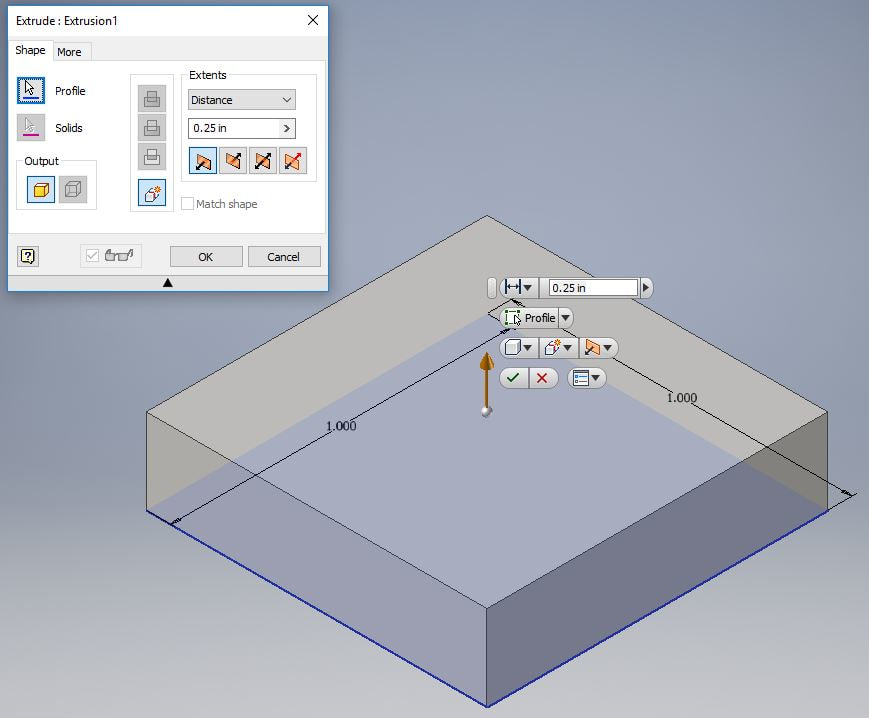

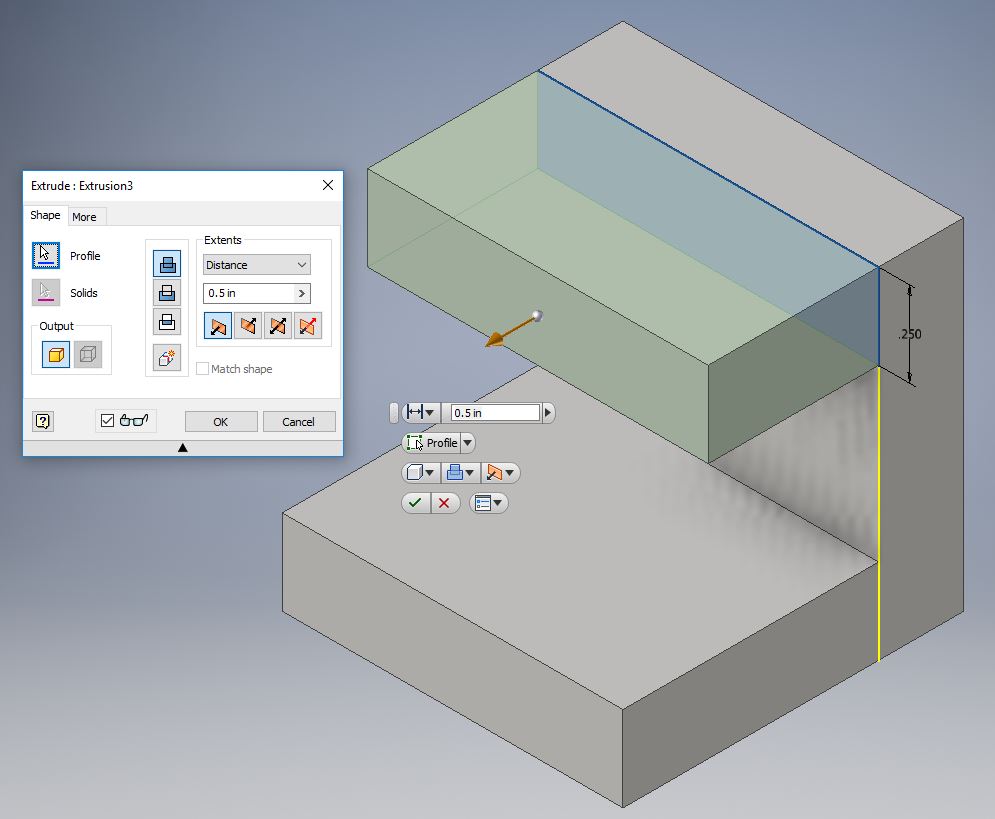
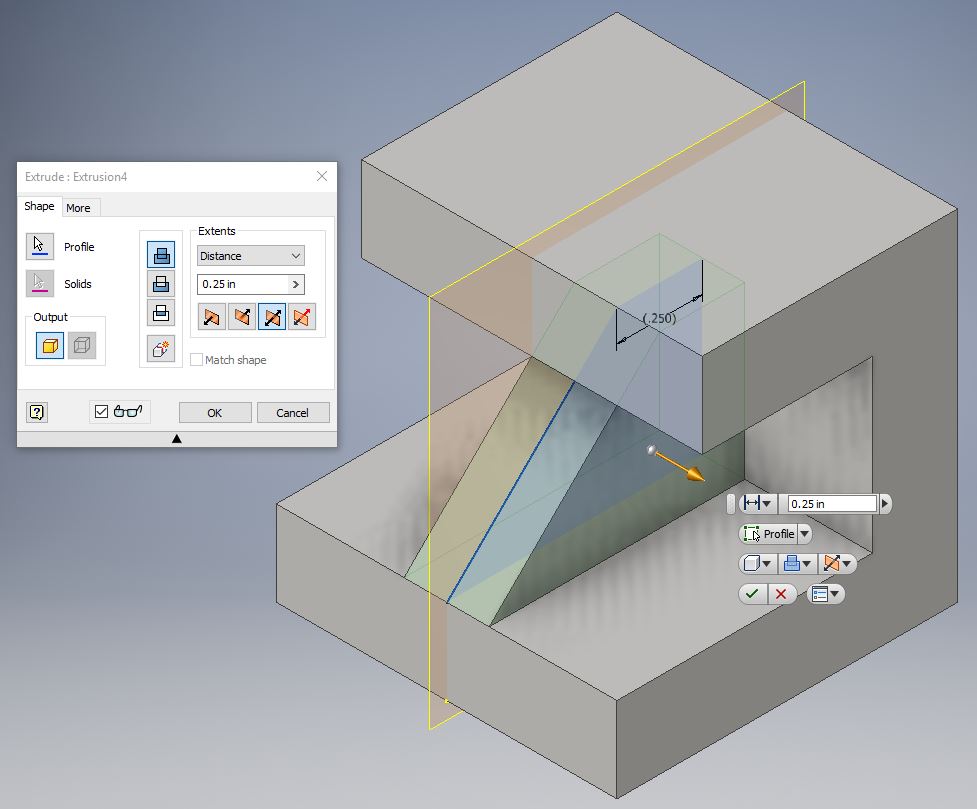
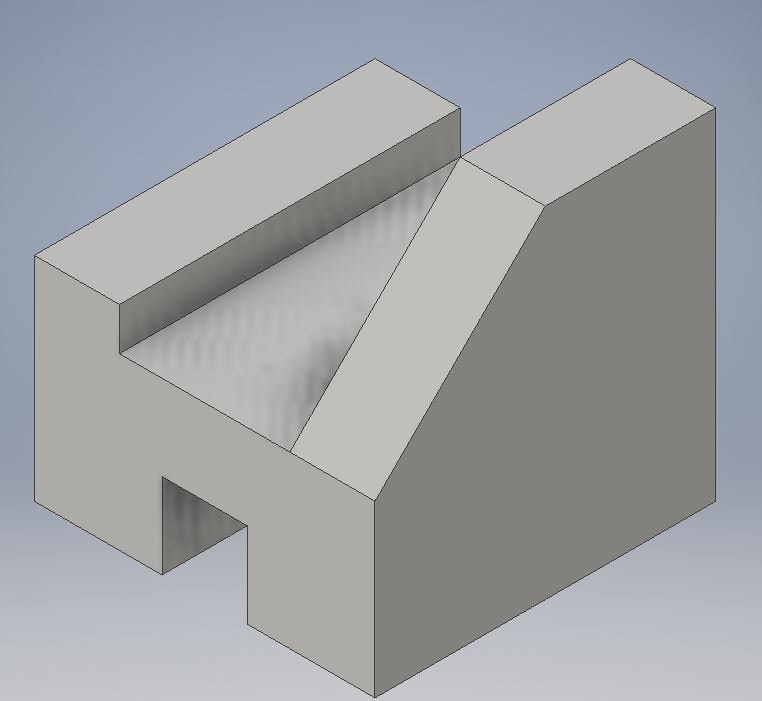
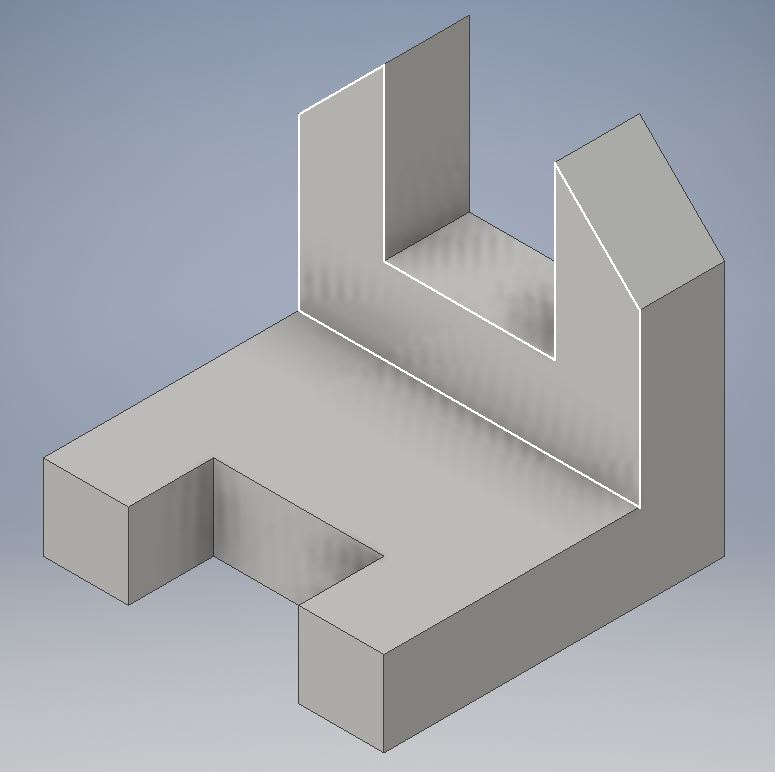
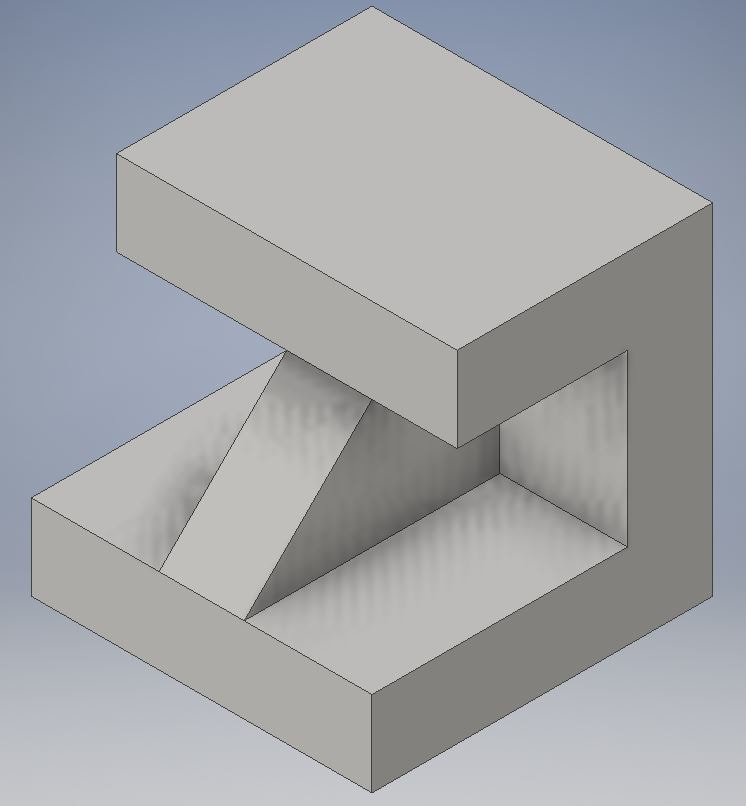
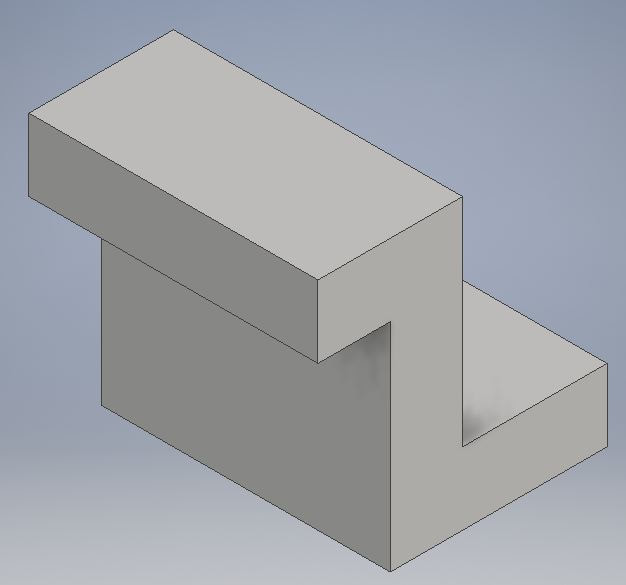
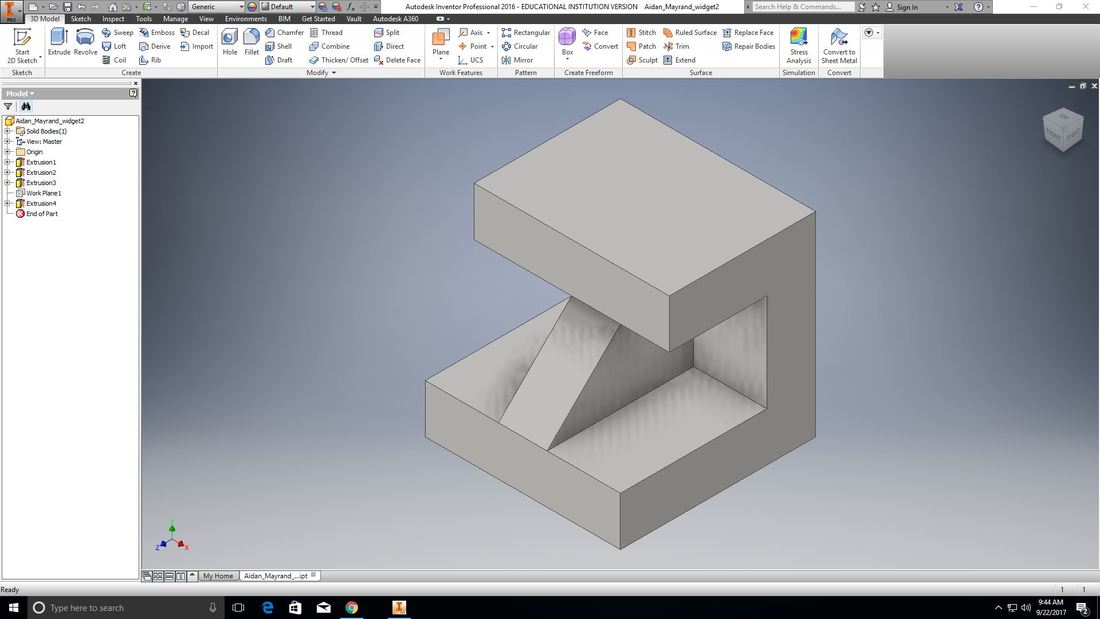
I started making the second widget by making a base, then added the back and the top. I then made a mid plane between the front and back side, made my triangle, and extruded it from both sides.
All Widgets
3D Printing Widget Instructions
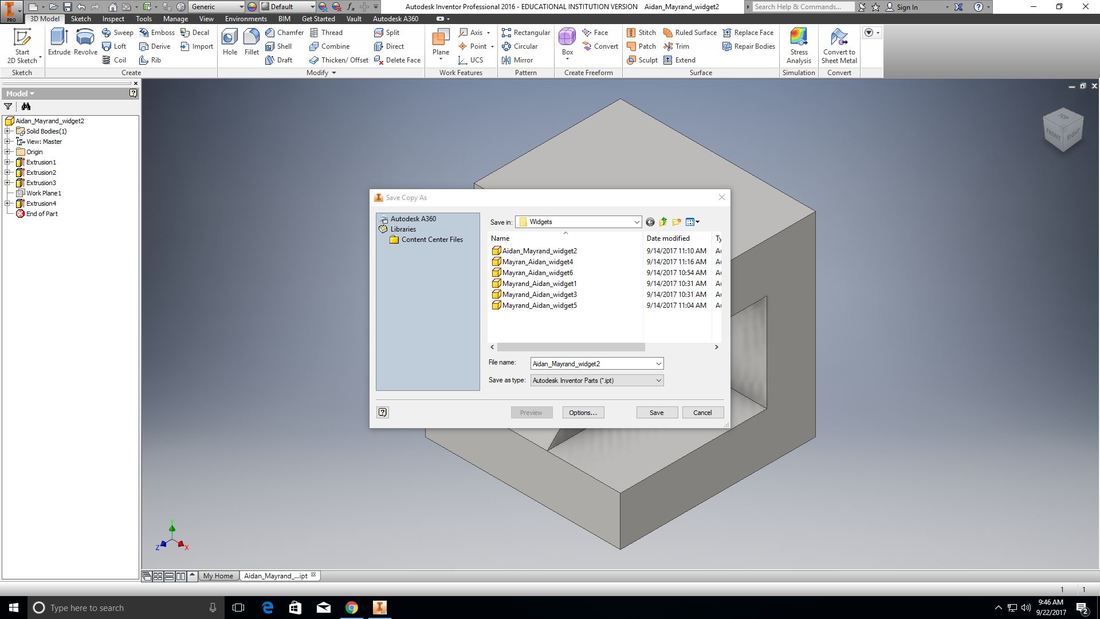
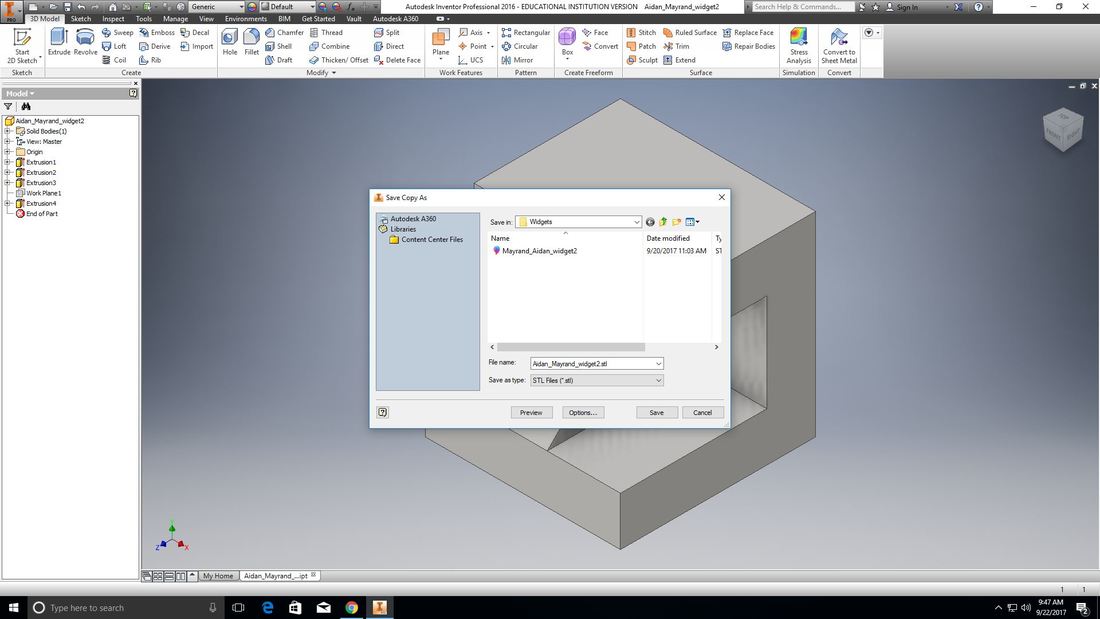
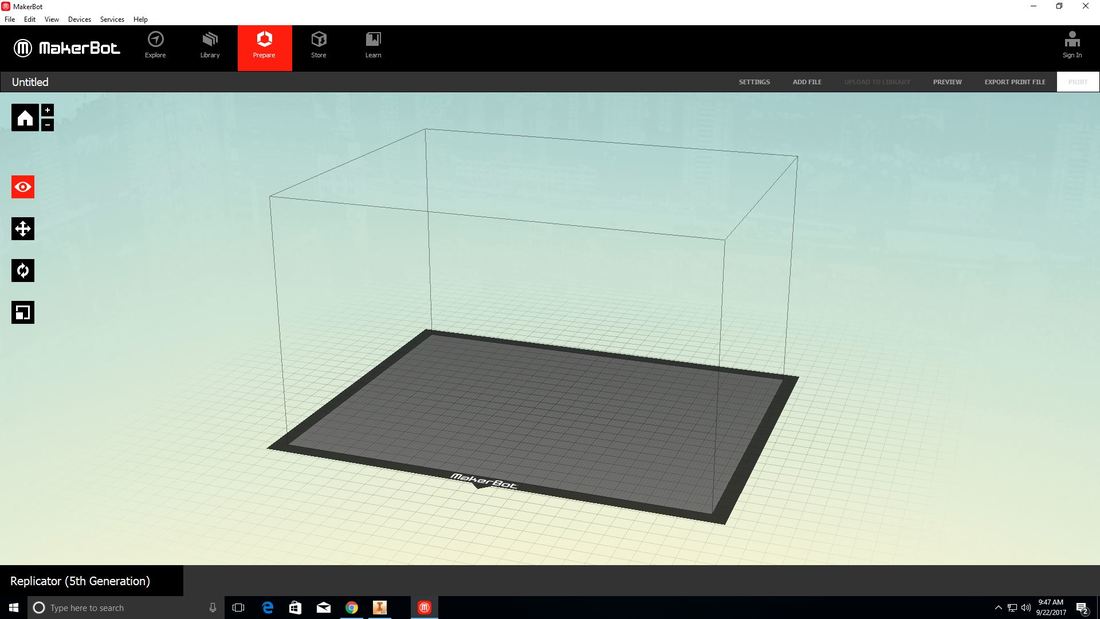
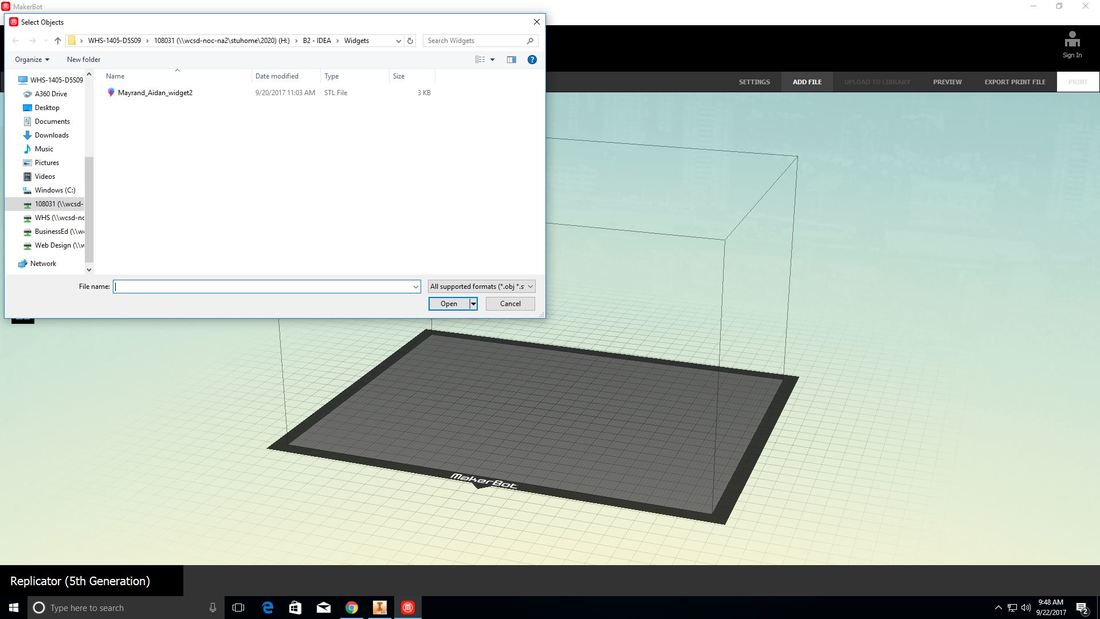

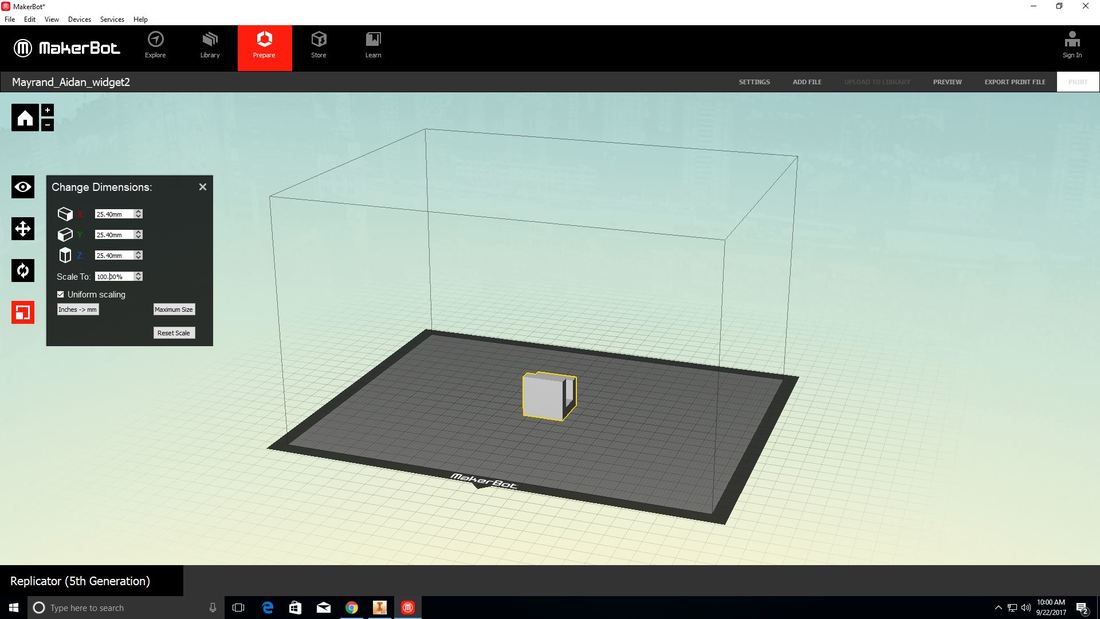
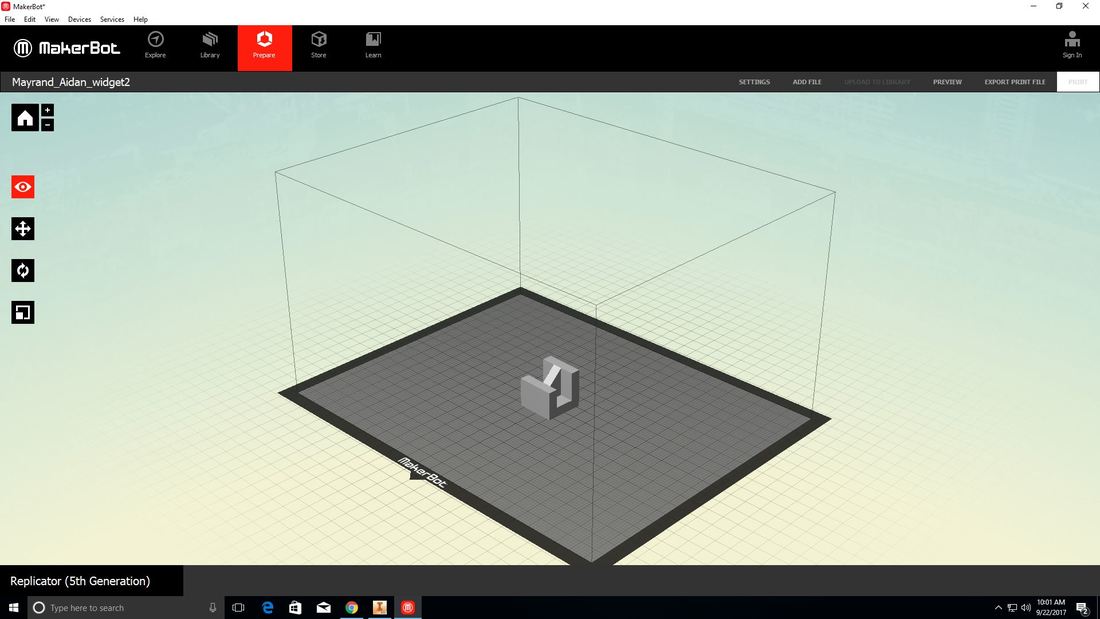
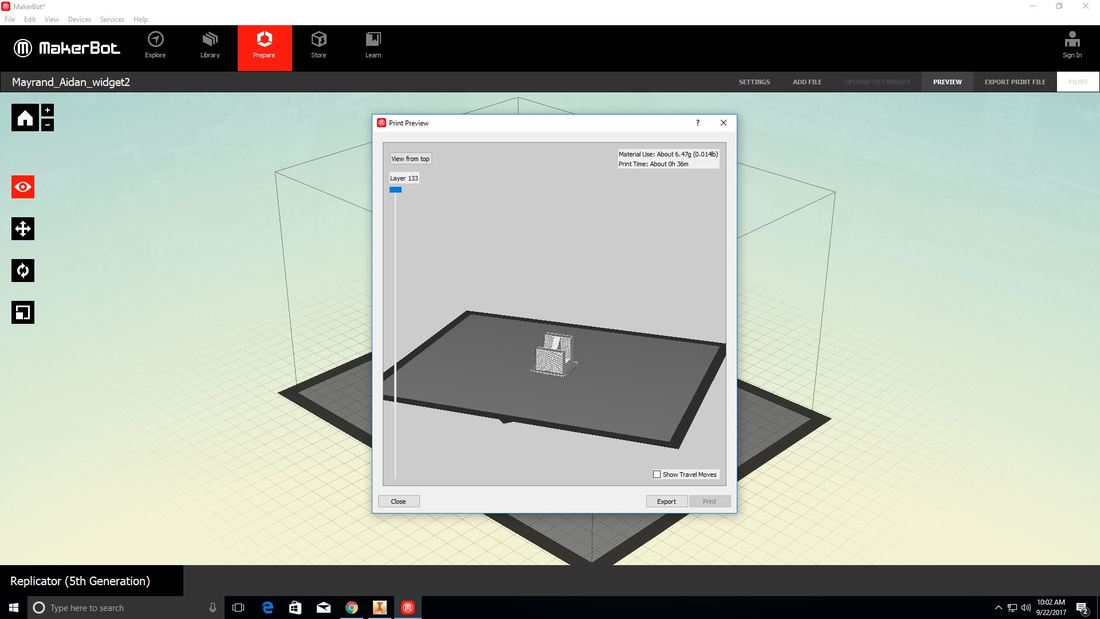
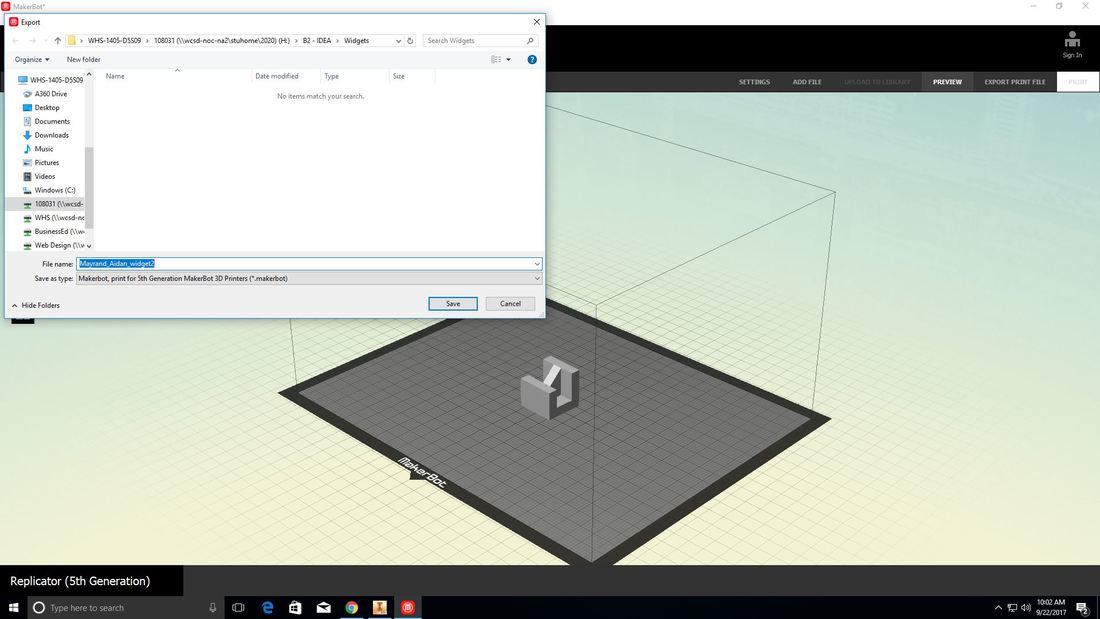
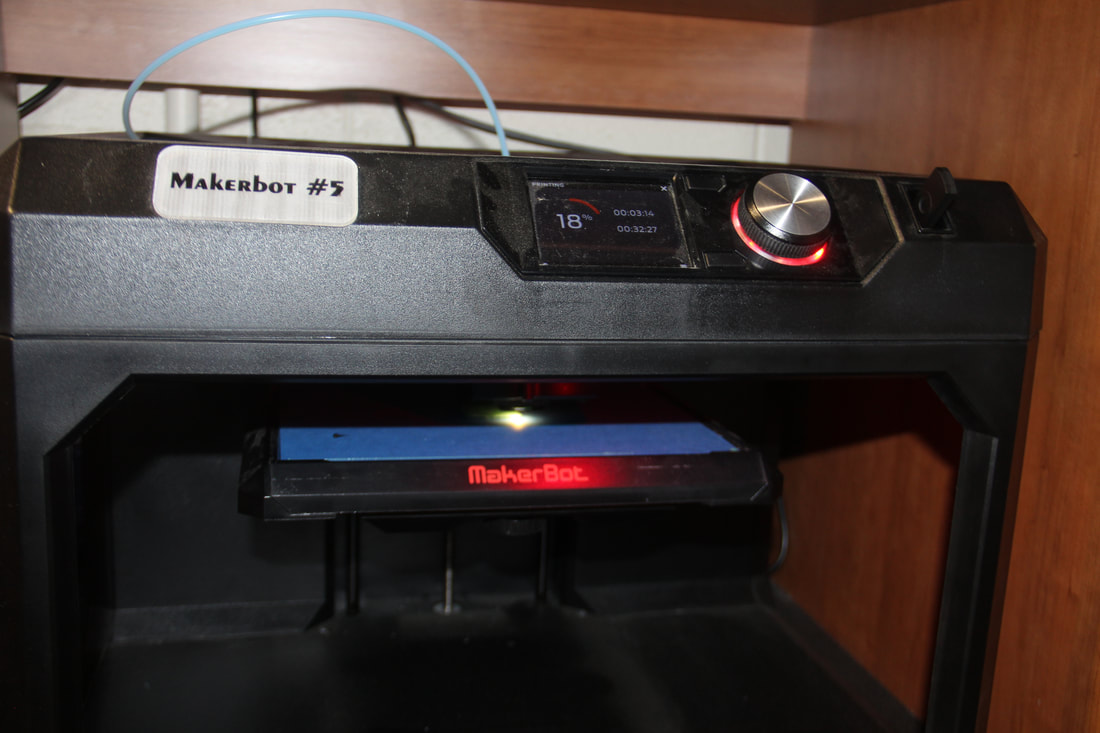
When you want to make something in Autodesk Inventor and put in on the 3D printer, you have to Export it as an .stl File. You should open up the Makerbot Desktop. You should click o your part and change the scale from 100% to 1000%. The way you orient your print is up to you. If you have any large holes in your print, I suggest laying the print face down instead of up on it's side so it doesn't have to make any support material. Press the "Preview" button to see how much material it will take to make the part, how many layers it will take to print the whole piece, and how much time it will take to make. Then press "Export" and move it onto a removable flash drive. Take your flash drive and put it in the 3D printer. You should select which part you want to print using the dial, Then select "Print".
