Introduction
For my final project, I wanted to make a stylish and impressive computer case for my computer parts.
I wanted a new computer for a while, and decided to buy all of the parts online. All but the case.
I wanted a new computer for a while, and decided to buy all of the parts online. All but the case.
I knew that using the tools in the Innovation Center, I could make my very own custom computer case.
Presearch
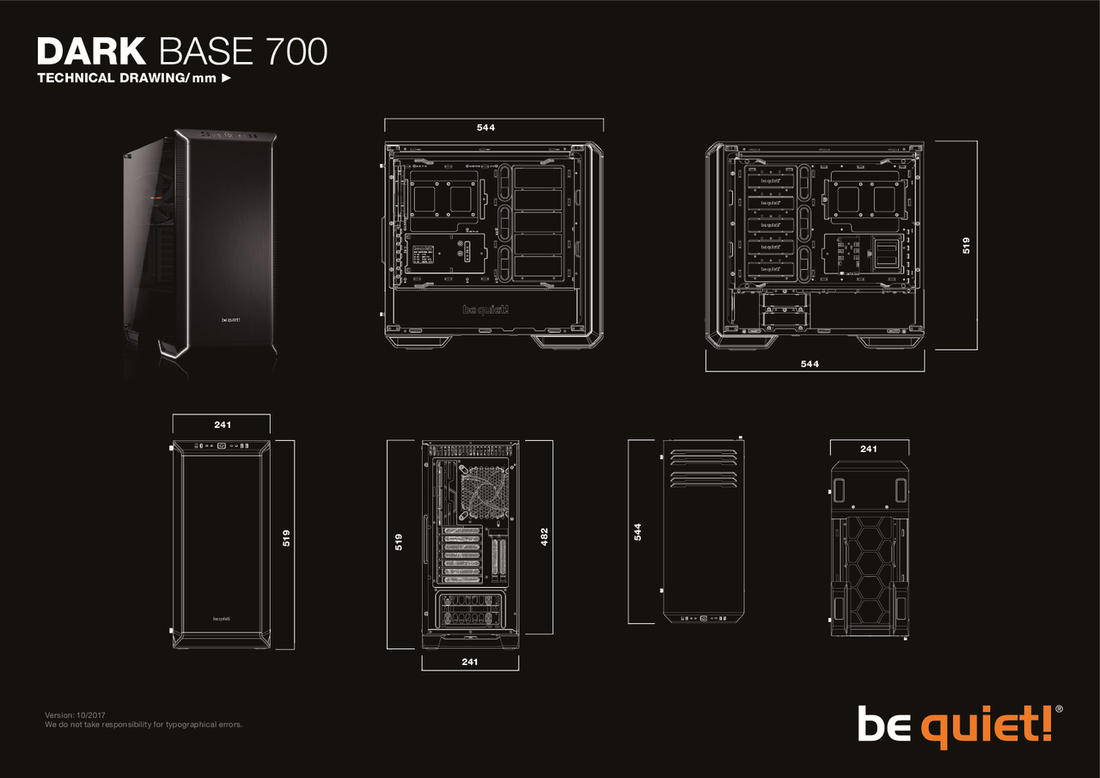
In the months before the project, I gathered interesting and cool looking DIY computer cases by people made in the PC community. With full build guides and plenty of interesting features, I decided that this was a project that I could try my hand at.
I made a list of pictures and websites that had interesting ideas I could incorporate into my computer case. I made several sketches and mach ups of what I wanted the computer to look like.
For a list of all of my sources and inspiration for this project, click the file below.
| aidan_mayrand_-_ultimate_diy_computer_case_presearch_-_google_docs.pdf |
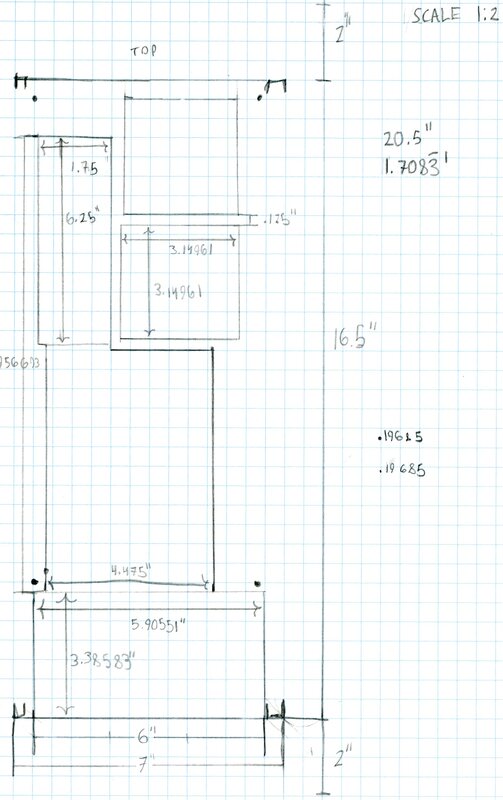
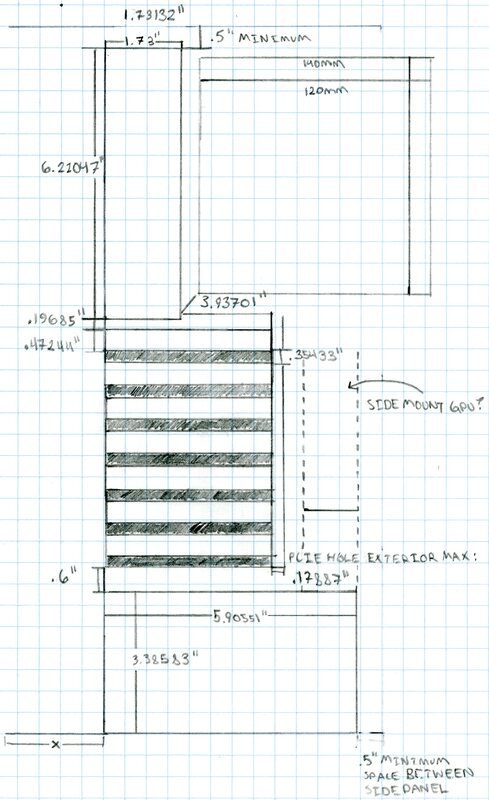
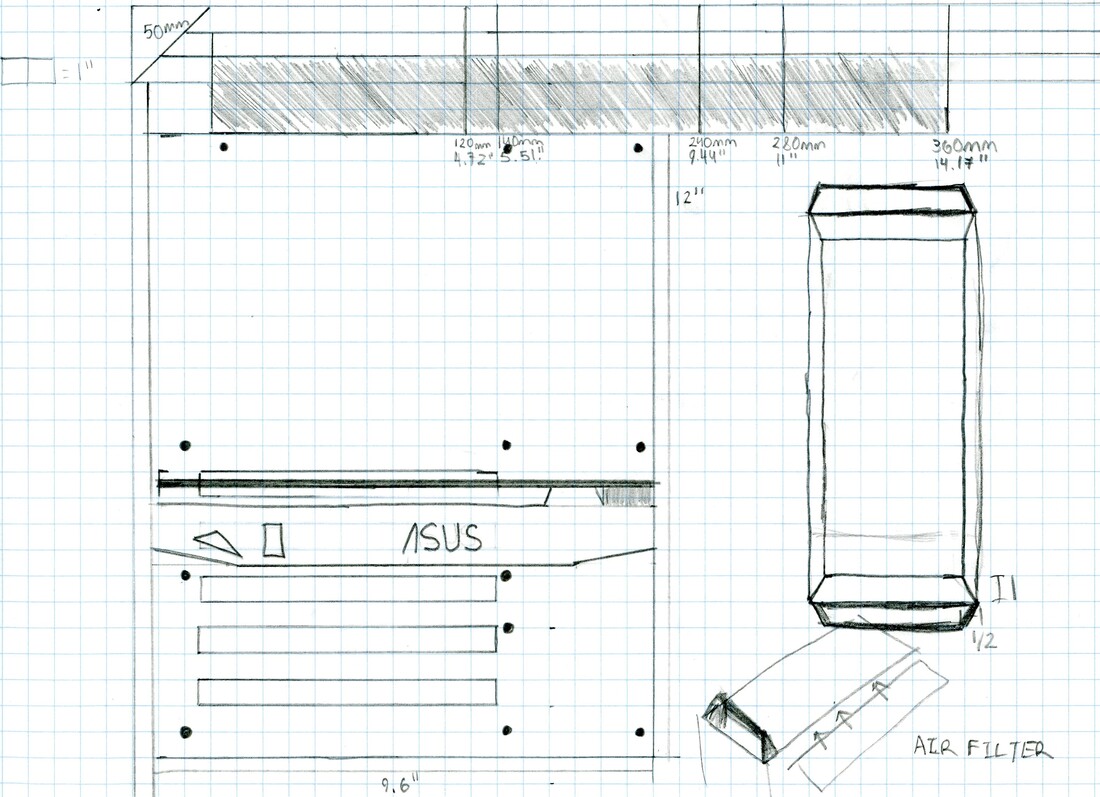
Digital Designing
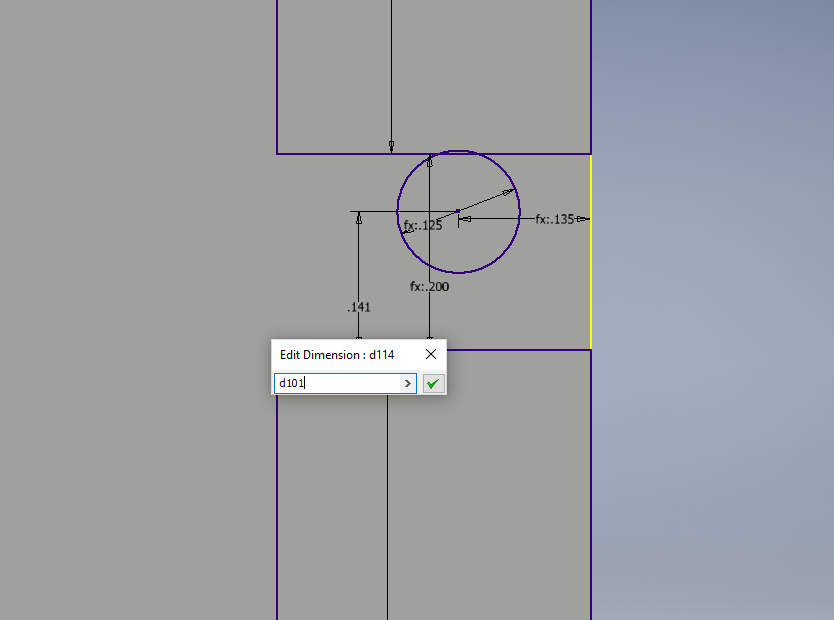
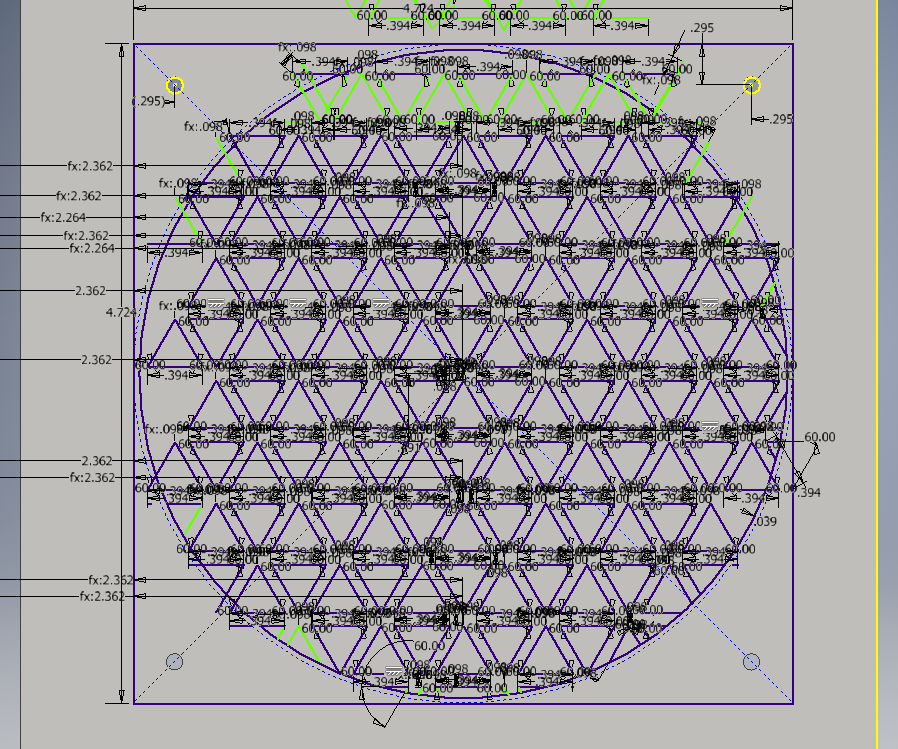
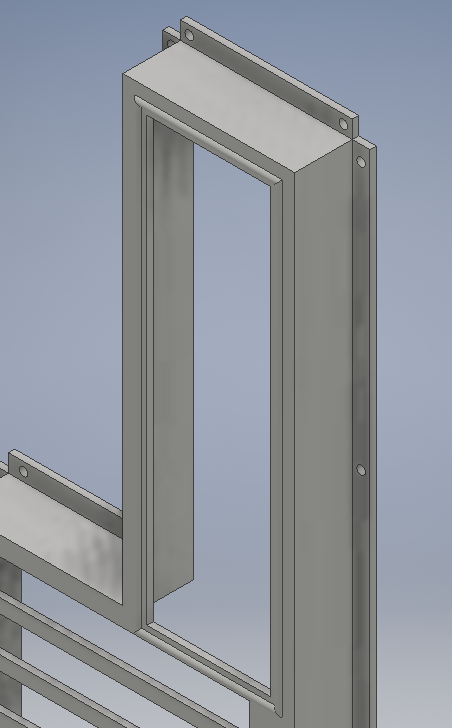
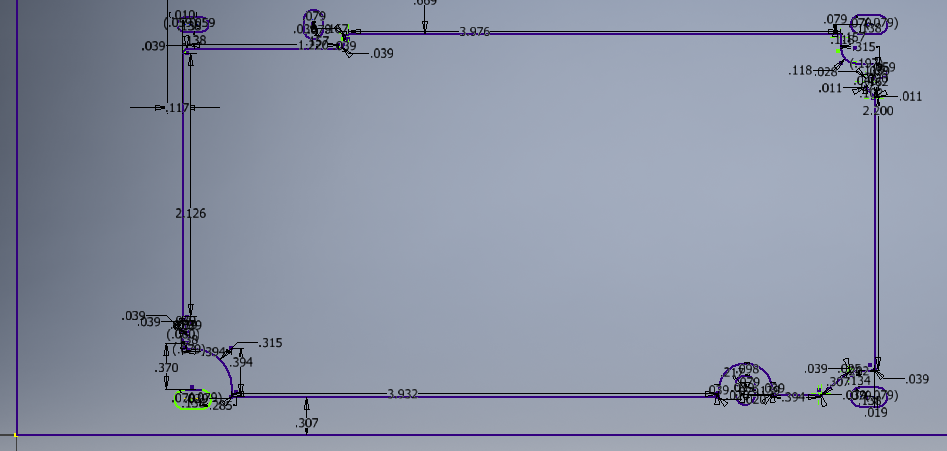
When I started designing and demensioning for this project, I mainly used Autodesk Inventor. When I realised that the majority of my material in this project would need to be laser cut, I switched to Adobe Illustrator. After a while, I got more familiar with the application. Enough so to fully dimension all of the panels I would need for this project.
Dimensioning took several class periods to do, and was very time consuming.
|
|
I was better at using Inventor when starting this project. It provides an easy way to make shapes in comparison to Illustrator, but dimensioning out parts was a pain.
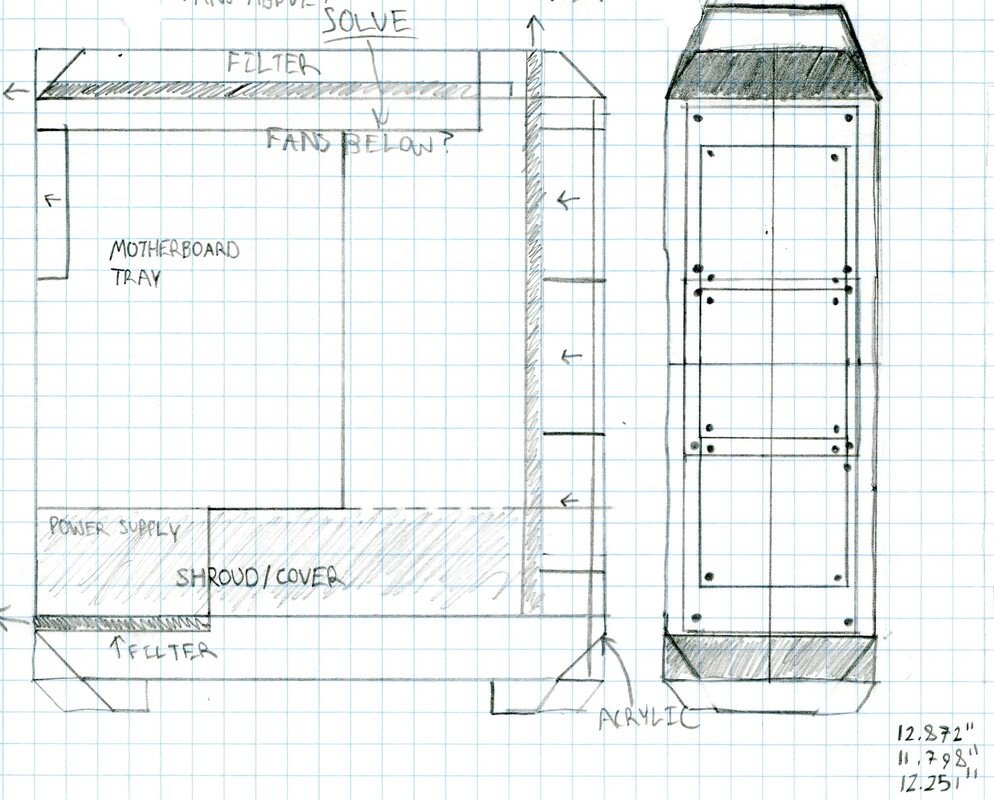
Over time, I measured my parts, my known dimensions and assembled one big hub to determine what panels needed to be cut.
Proof of Concept
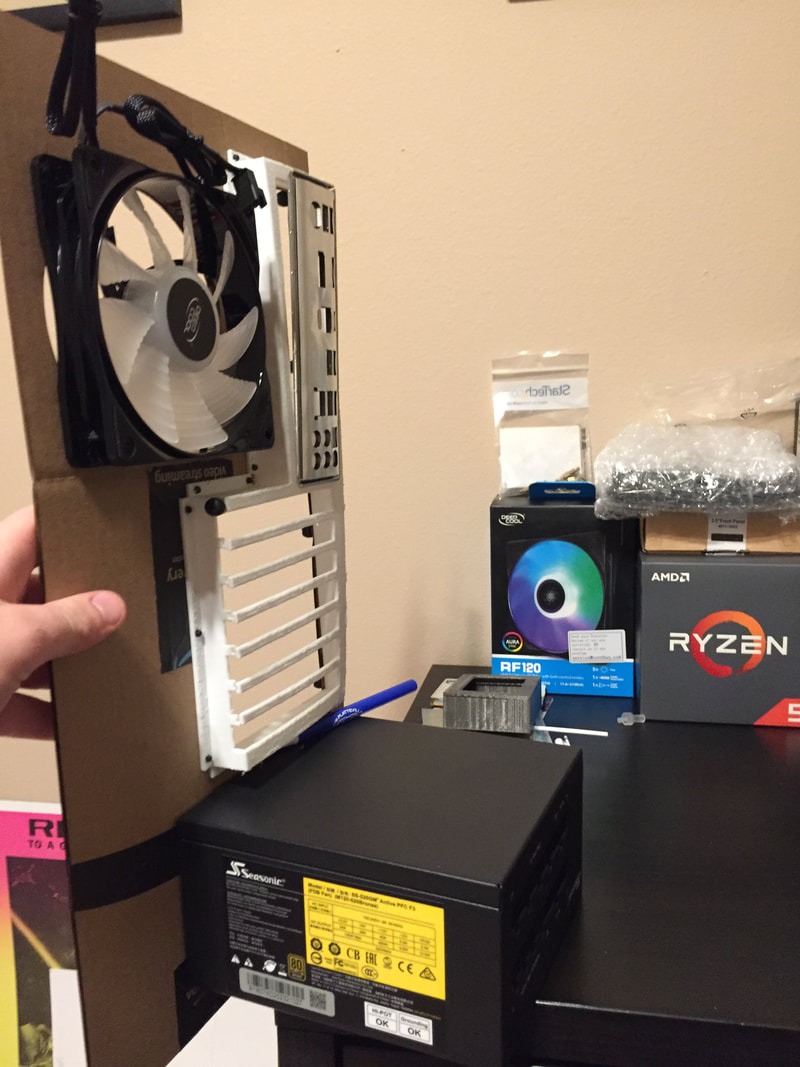
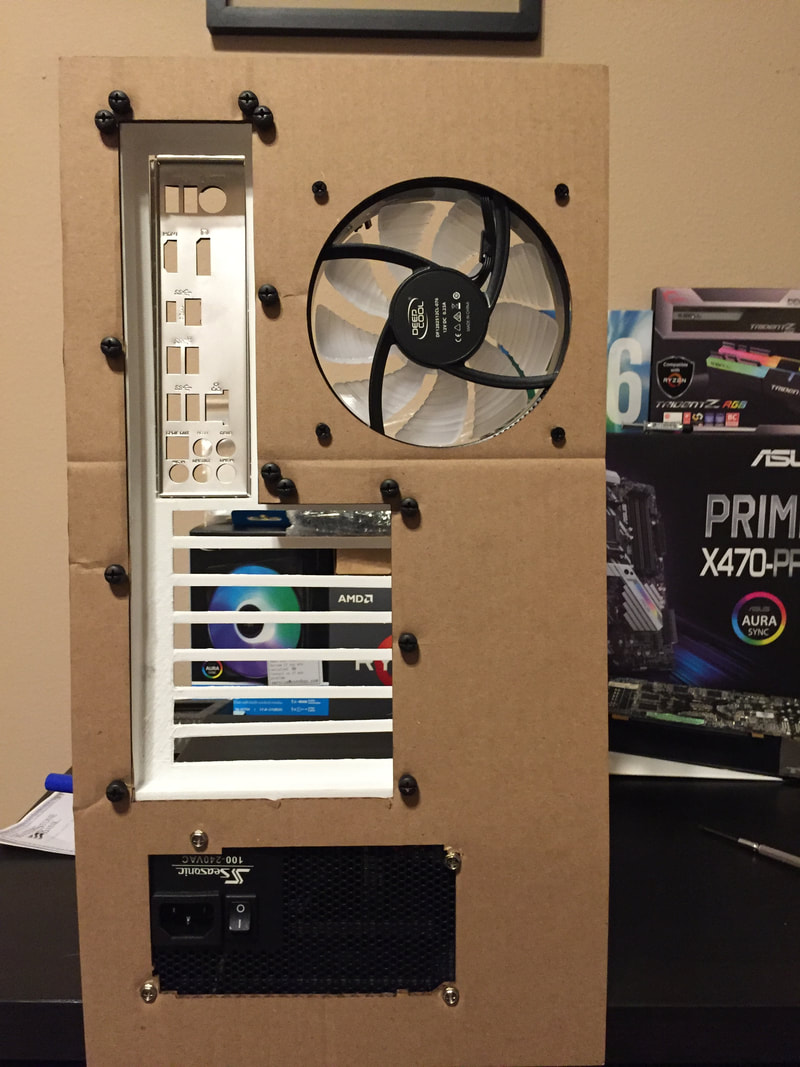
At school, I 3D printed out a Rear/IO bracket for my motherboard and graphics card, and laser cut a mock-up of what I need for the case's rear panel. Everything seemed to fit, but I definitely had some adjustments to make in my dimensioning.
Using cardboard models instead of acrylic helped me reduce the amount of waste acrylic in the future. Testing out cuts could be done just as well on cardboard.
|
|
Machining the Case
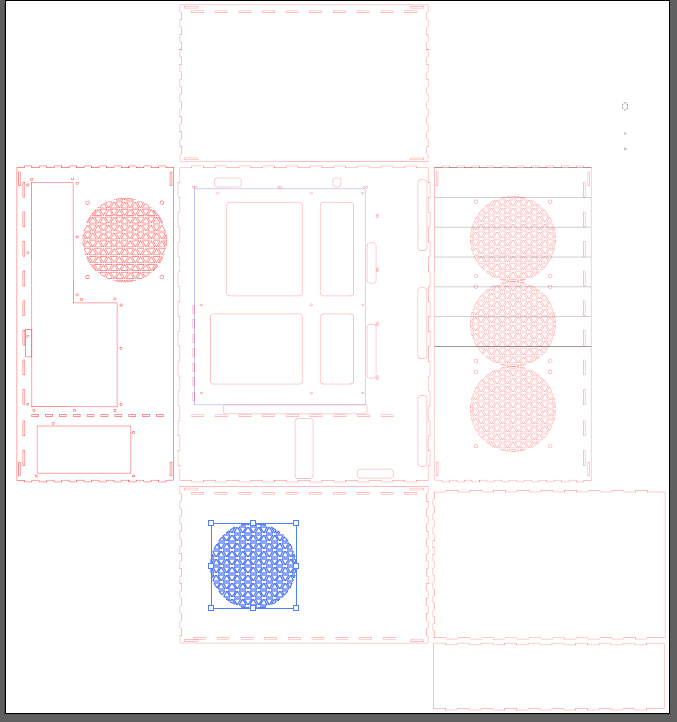
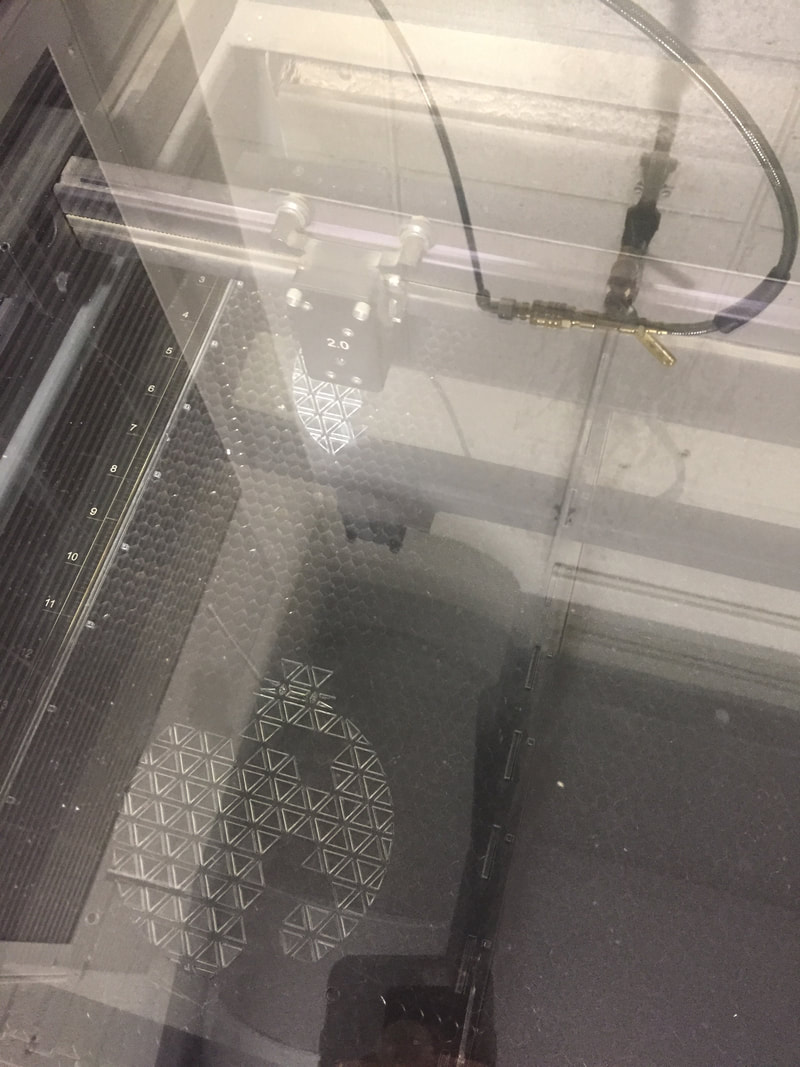
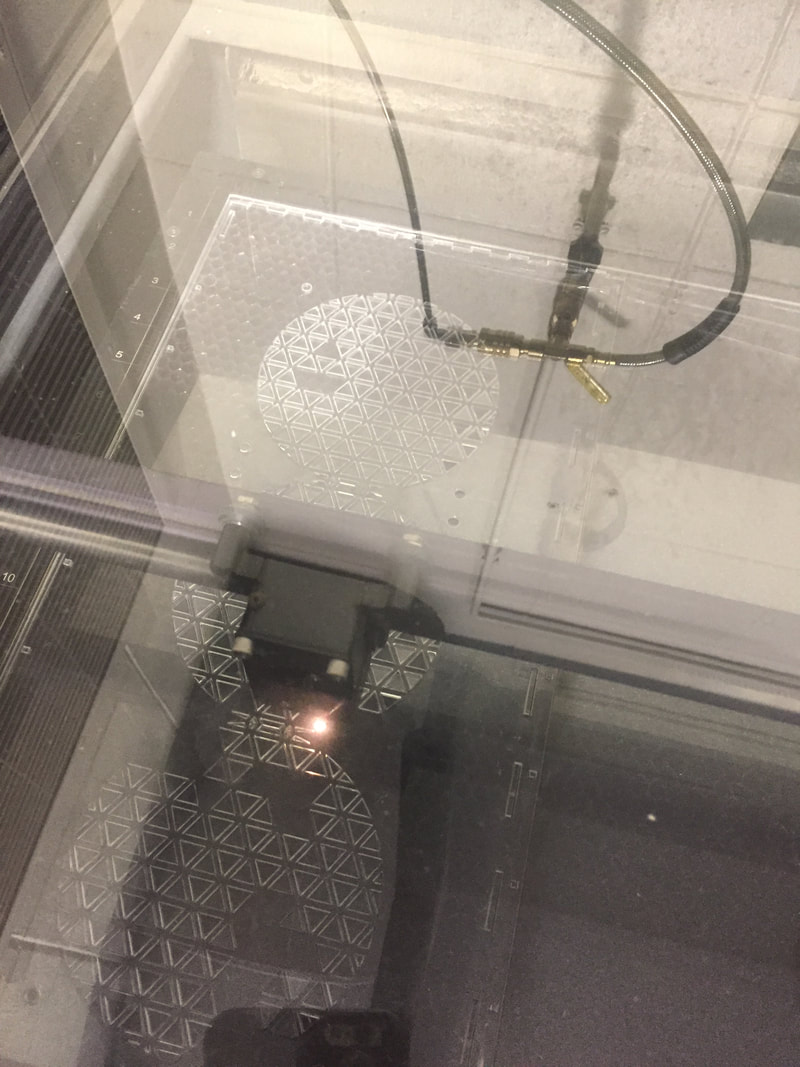
Using mostly the laser cutter, I took panels from my larger document and split them up into individual panels of the case that would need to be cut out of acrylic.
Larger panels, or panels that had a lot of small holes in them took longer than smaller ones.
|
|

|
|
Earlier in the project, I planned to make handles for the top and bottom of the case, as well as the Rear I/O Bracket. Due time constraints and 3D printer difficulty, I chose to not use the handles and make the bracket out of acrylic.
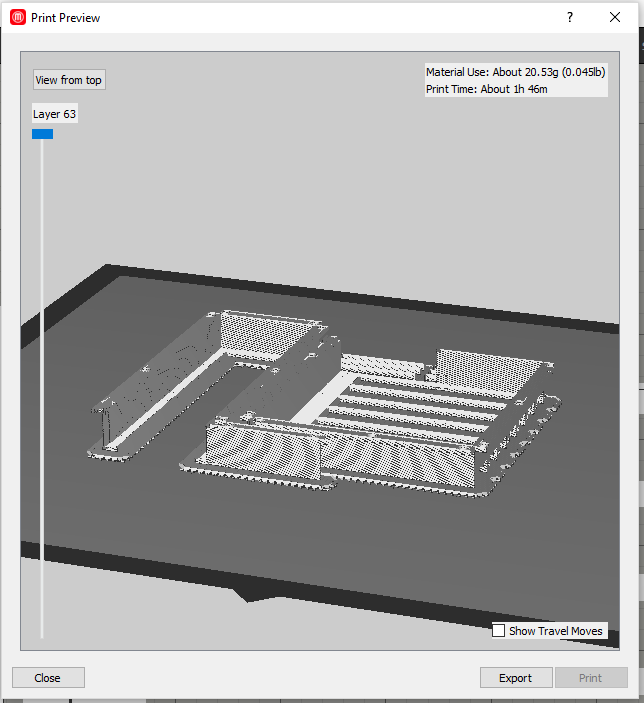
I did end up 3D printing a bracket that would hold the USB 3 and headphone/microphone card that I bought for the case. I also made a decal for the power supply basement of the case with a PROJECT MERCURY logo.
I did end up 3D printing a bracket that would hold the USB 3 and headphone/microphone card that I bought for the case. I also made a decal for the power supply basement of the case with a PROJECT MERCURY logo.
Case Assembly
When I had all of the acrylic panels cut and together, I began to assemble the case. To make sure everything holds together, I needed to use acrylic cement. It's a pretty cool adhesive that is good for molding pieces of acrylic plastic together and makes a tight bond.

System Assembly
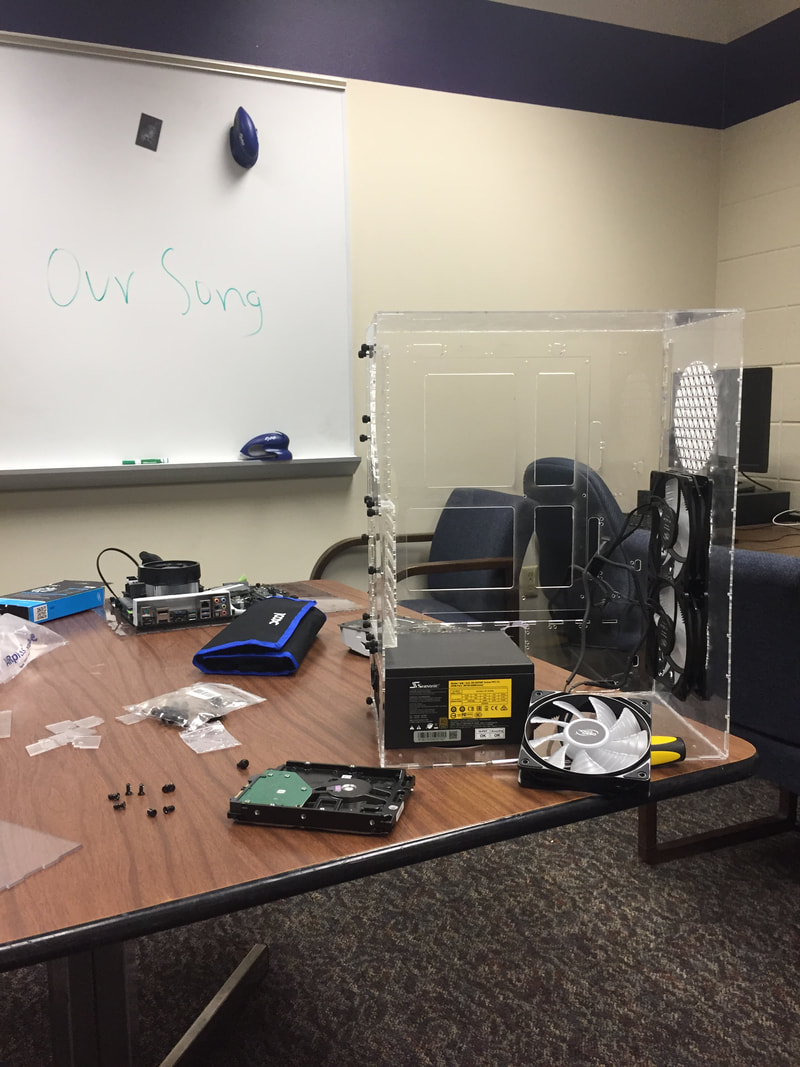
When I had the case assembled, I brought all of the computer parts that I had bought for this build to school. There I put in all of the fans, the motherboard, power supply, graphics cards and any other wires.
After several attempts to put in my motherboard correctly, I realized that I had a flaw in my design. I ended up making the back plate that the motherboard should rest on too deep in the case. None of the holes would match, and that was bad. I did some more laser cutting and gave my motherboard the .325 inch boost that it needed so that it would line up.
|
|
I had no more major concerns with the computer case, and I decided to wrap up the project.
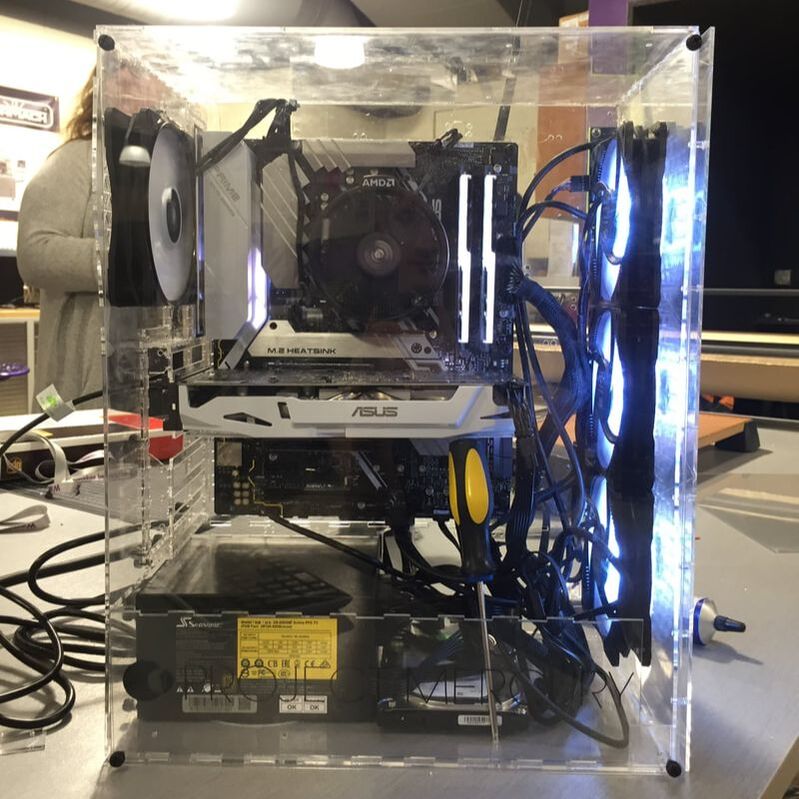
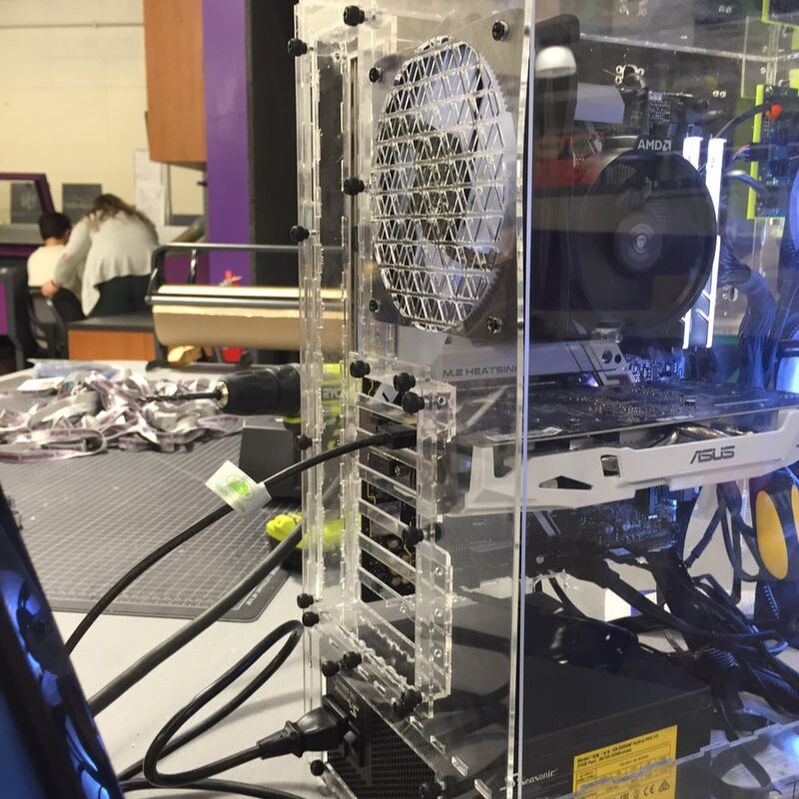
Final Product
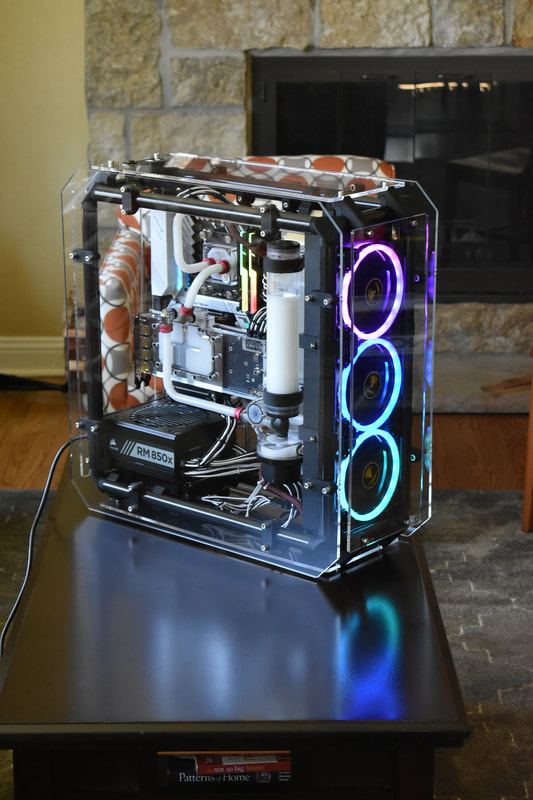
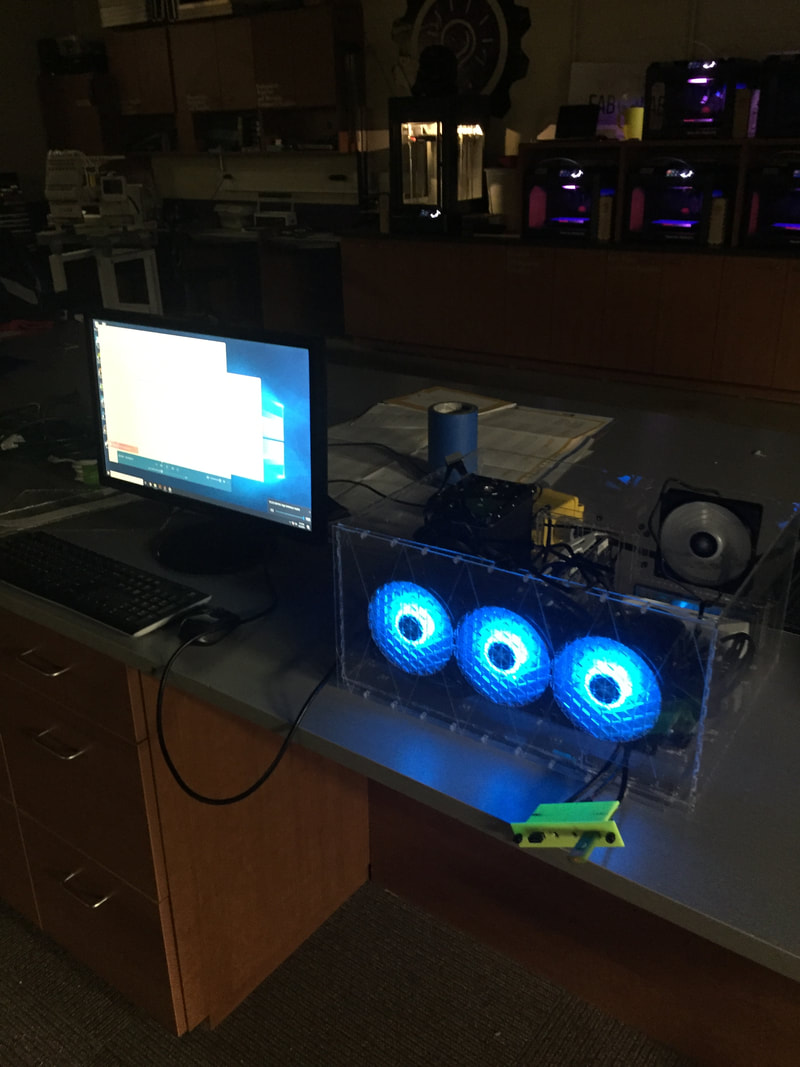
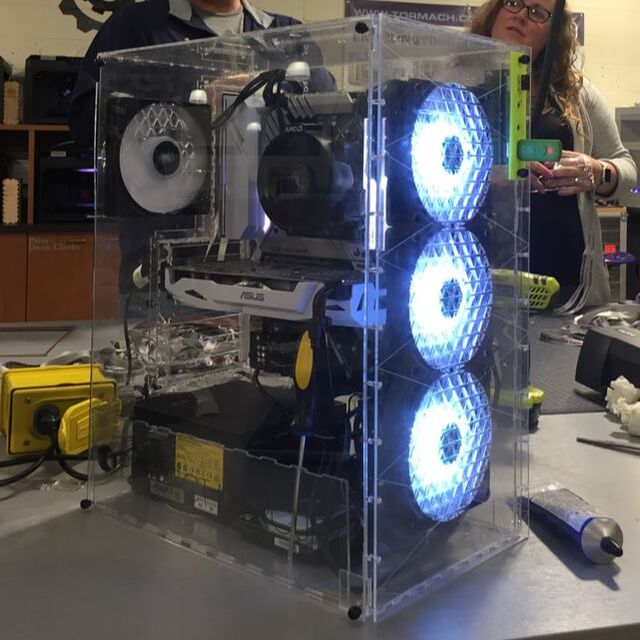
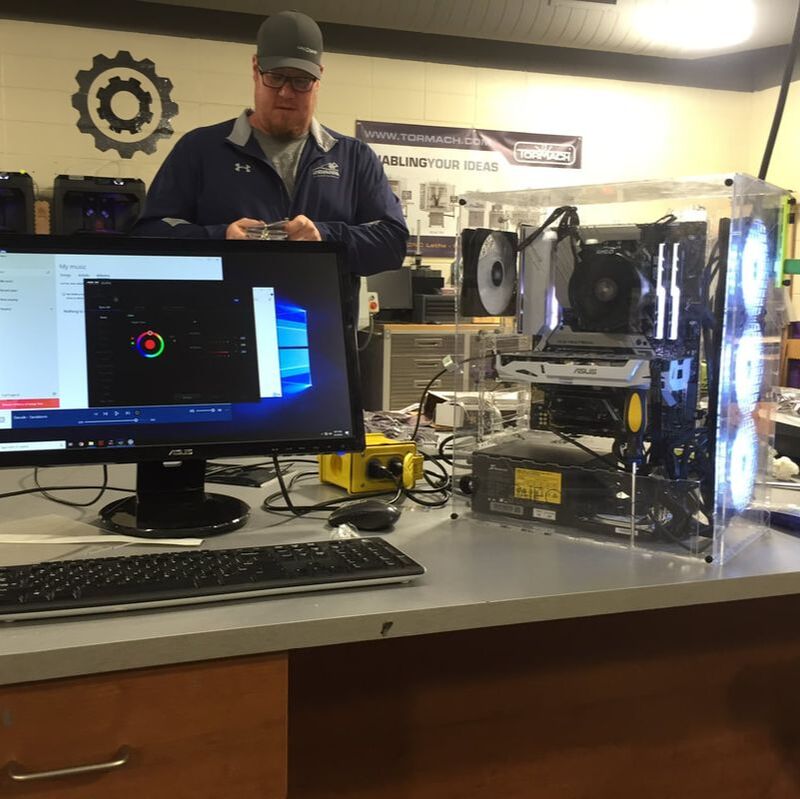
Some pictures of what the case looks like with all of the components inside and the RGB fans on.
|
|
Summary
What went well:
- I had a good starting plan of what would need to be done in order to complete the project. Presearch, then Research and development, buying the material and using the machines to put it together.
- The entirely clear chassis looks cool, and the RGB lights would be less impressive in a metal box.
- The case does it's job of displaying my computer parts.
What didn't go well:
- The research and development phase of the project took a much longer time to accomplish. Everything needed to be measured correctly. I made sure to be careful, and that sponged up a lot of my time.
- I wanted to 3D print the Rear I/O bracket using the Makerbot Z18, but the design covered such a wide area that it warped every time I printed it out.
- I needed to make a lot of last minute adjustments to get the parts to fit. A lot of holes needed to be wider than I originally had them.
- I thought I would have more room for cable management, but most of the cables ended up just laying at the bottom of the case.
- The acrylic was flimsy and could be hard to work with.
What I want to do differently:
- If I end up making another computer case, I will want to spend less time on research and development, use some stronger material for the core of the case (wood or sheetmetal) and better schedule when I needed to finish my phases.
