Presearch
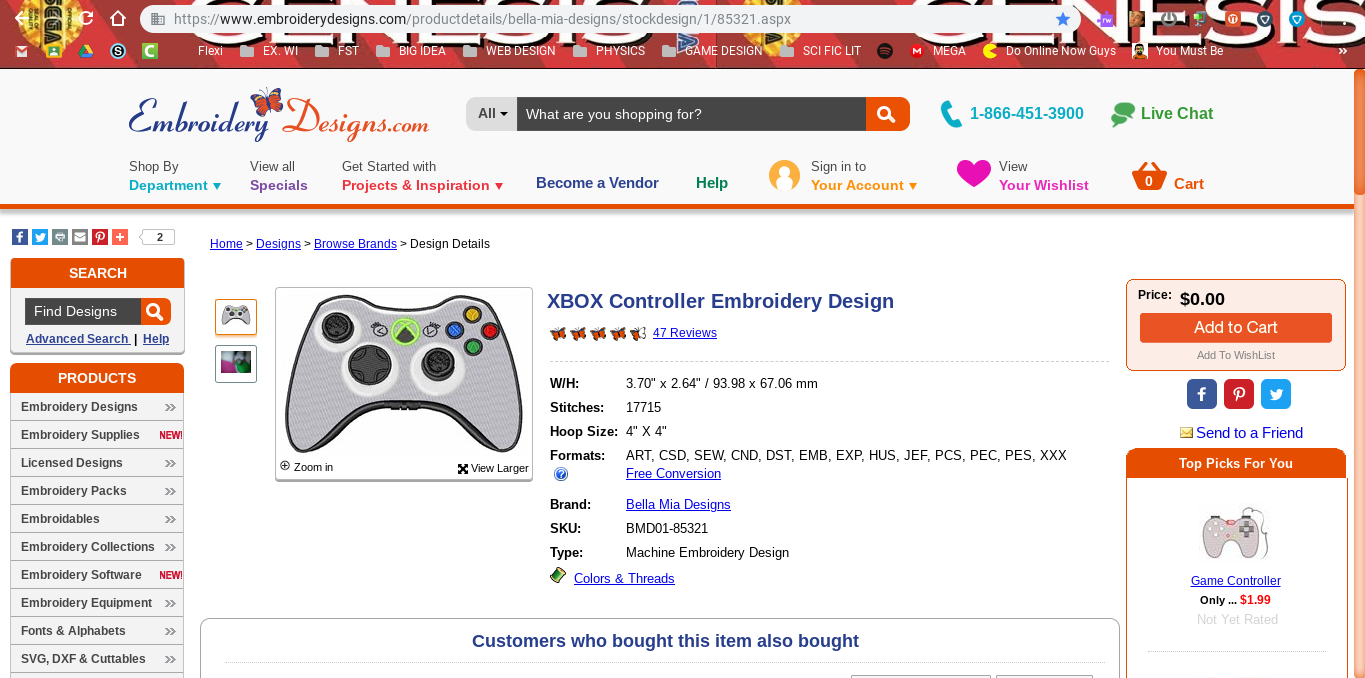
Before we could hop on the machines, we needed to find the instructions for the embroidery machine to run. I picked out an XBox controller design from:https://www.embroiderydesigns.com/productdetails/bella-mia-designs/stockdesign/1/85321.aspx
Setup Process

The first step in preparing the embroidery machine is to put the backing material into the hoop. The selection of hoops vary in size, but you should select which hoop to use based off of the size of the embroidery.
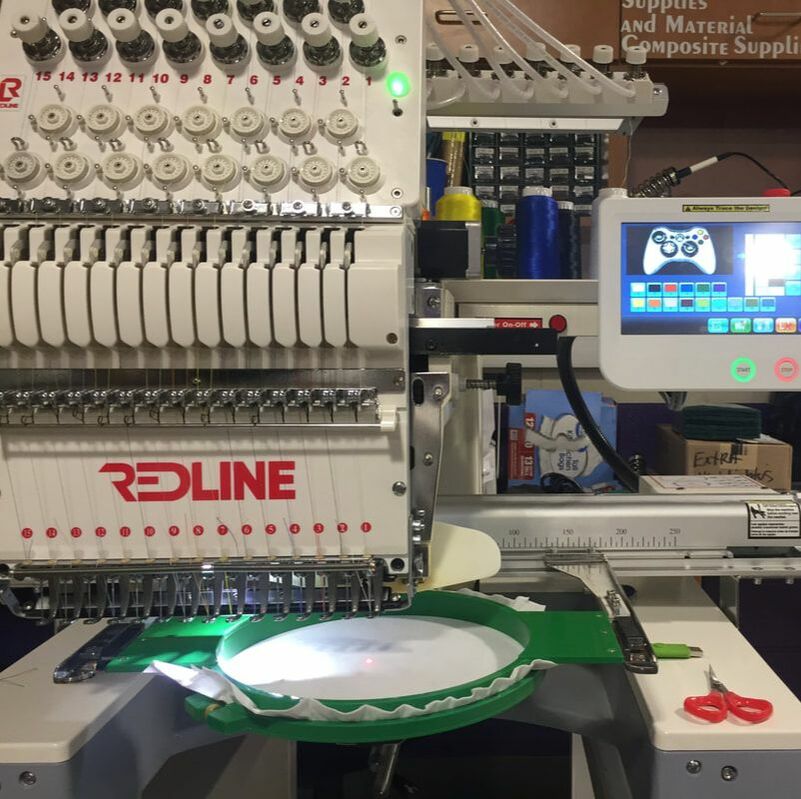
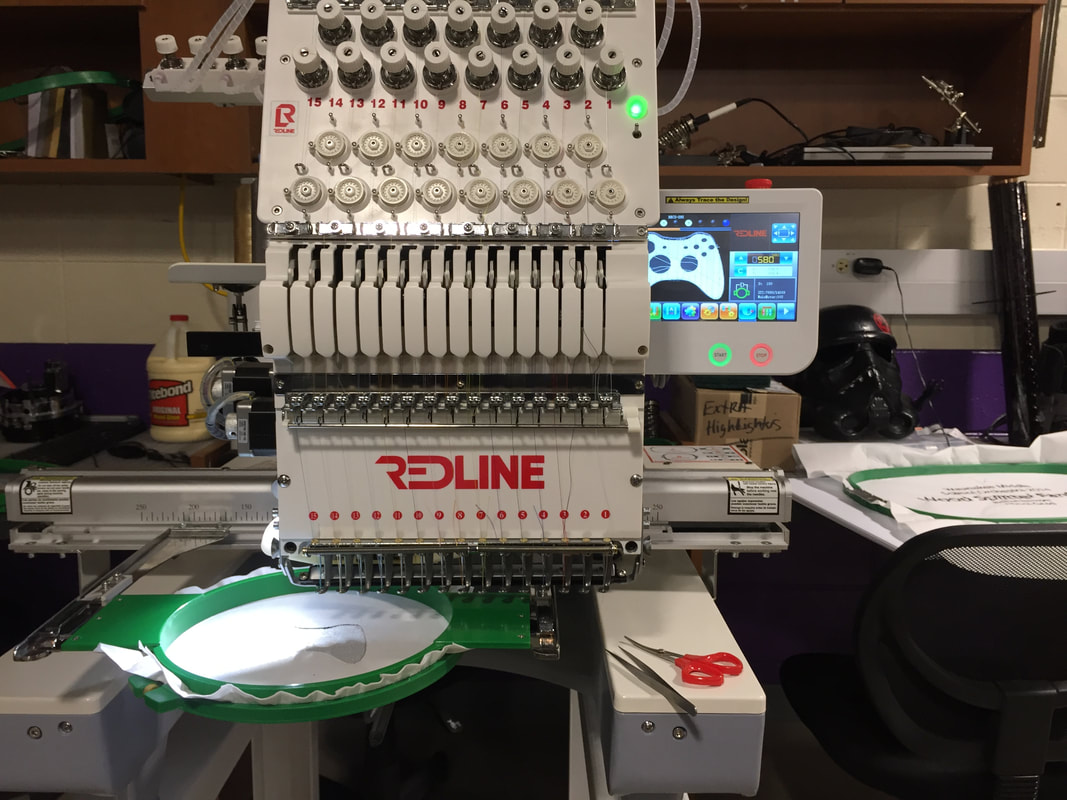
The next step is to slide the hoop into the bracket in the machine. It should slot all the way back into the frame, and will secure with a click.
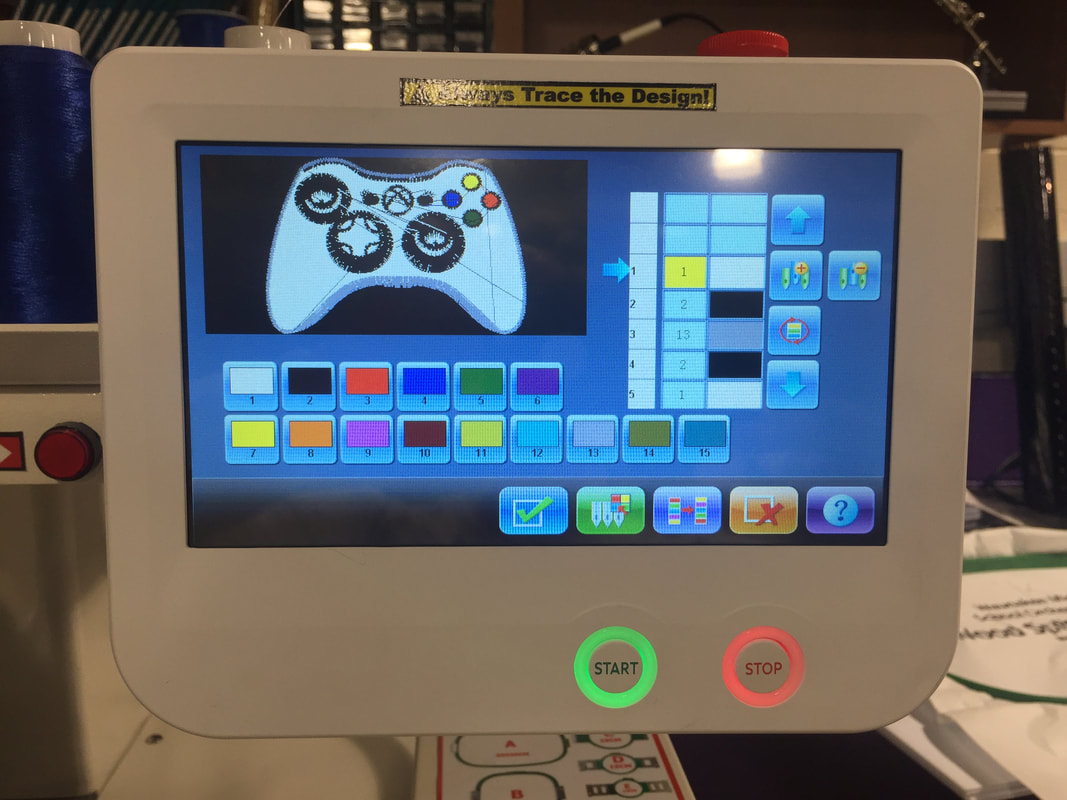
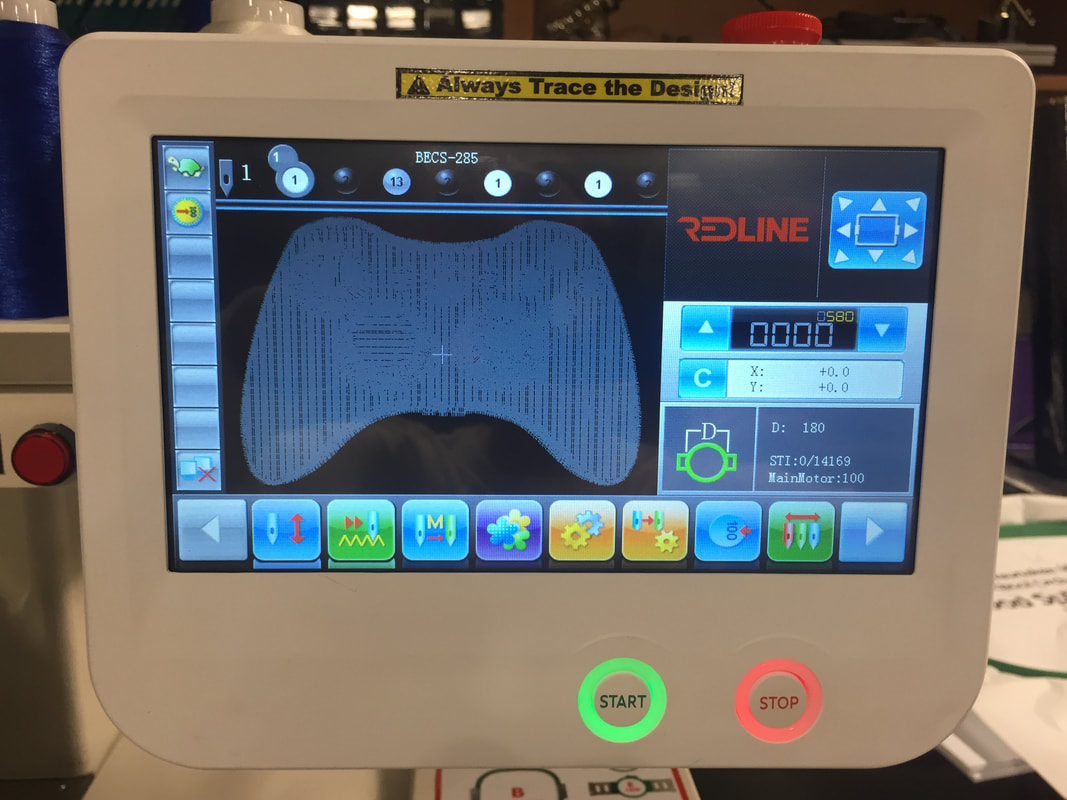
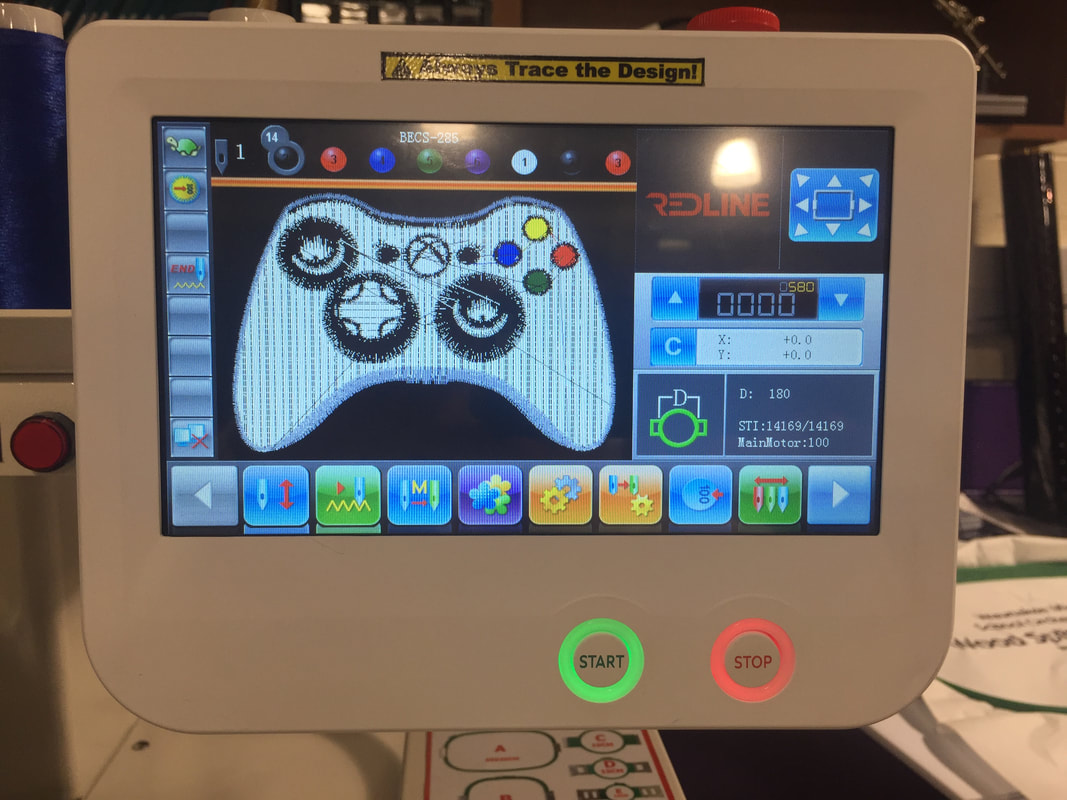
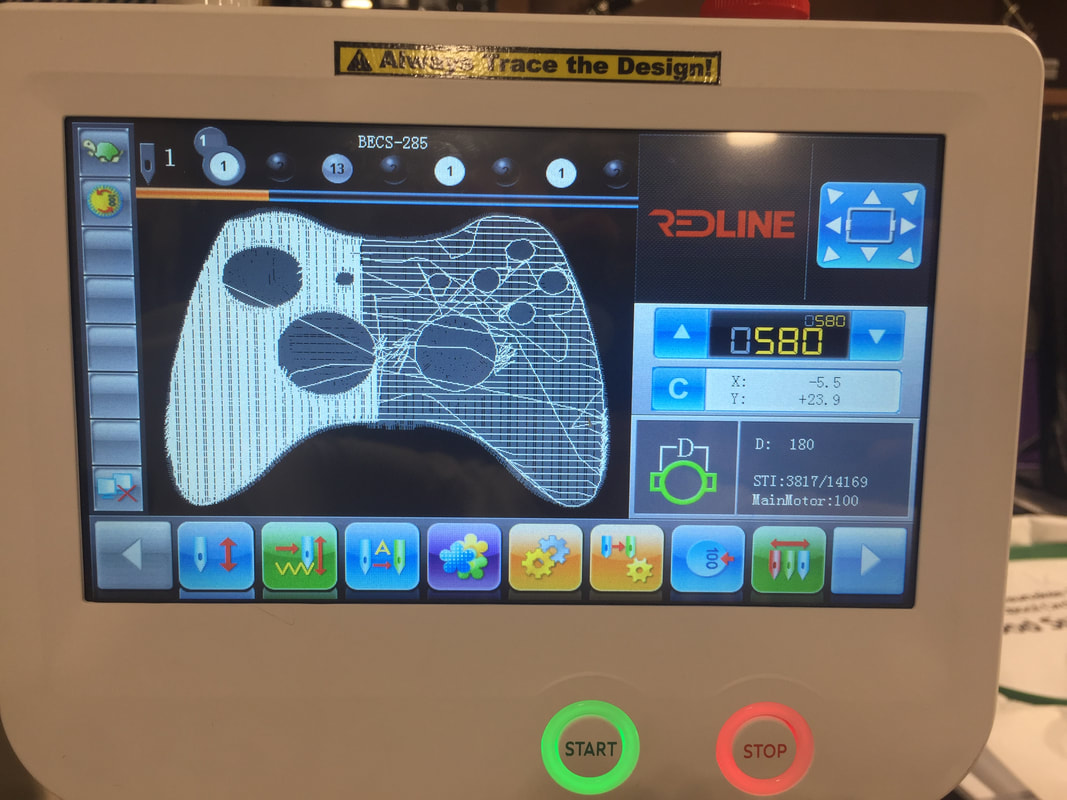
Next you need to select which embroidery design you want to make. You need to select the file, check to make sure that it fits in the frame you picked, adjust it's X and Y coordinates if needed, and pick the colors for each "layer". There are 15 possible colors to pick from the machine, and you assign a color on the machine to a layer.
|
|
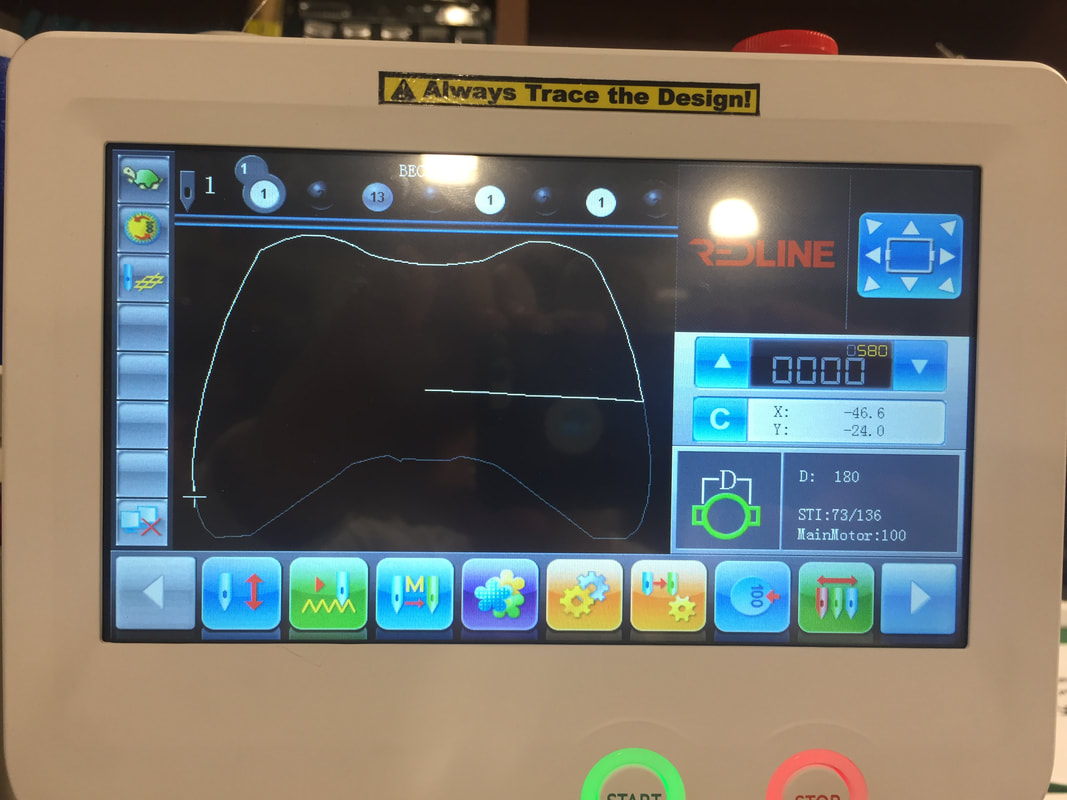
Before you start your embroidery, you need to trace the design. The XBox controller I picked was small enough to fit into the C-sized hoop.
Machining Process
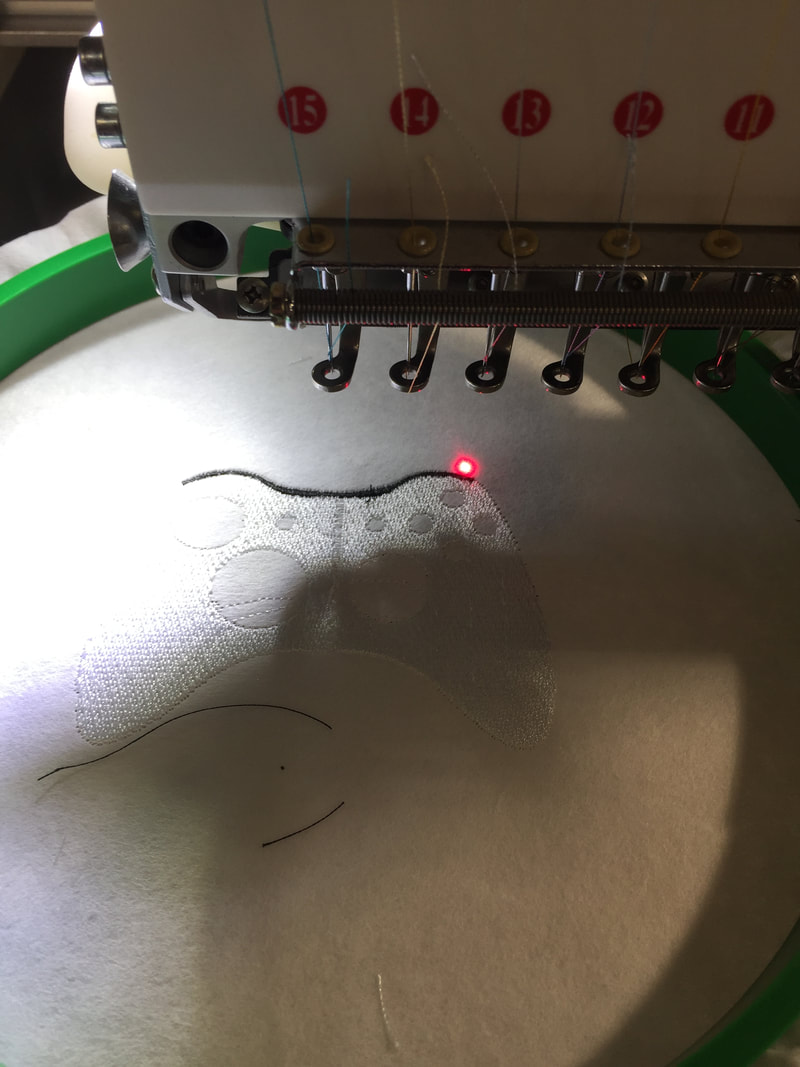
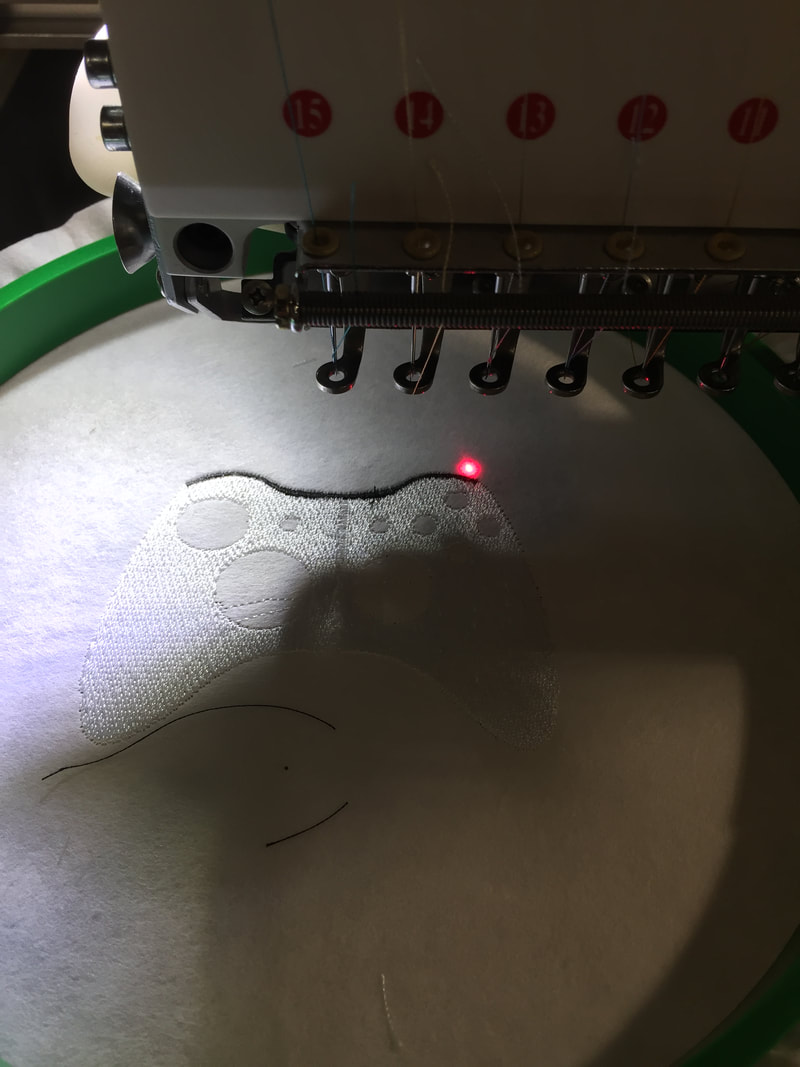
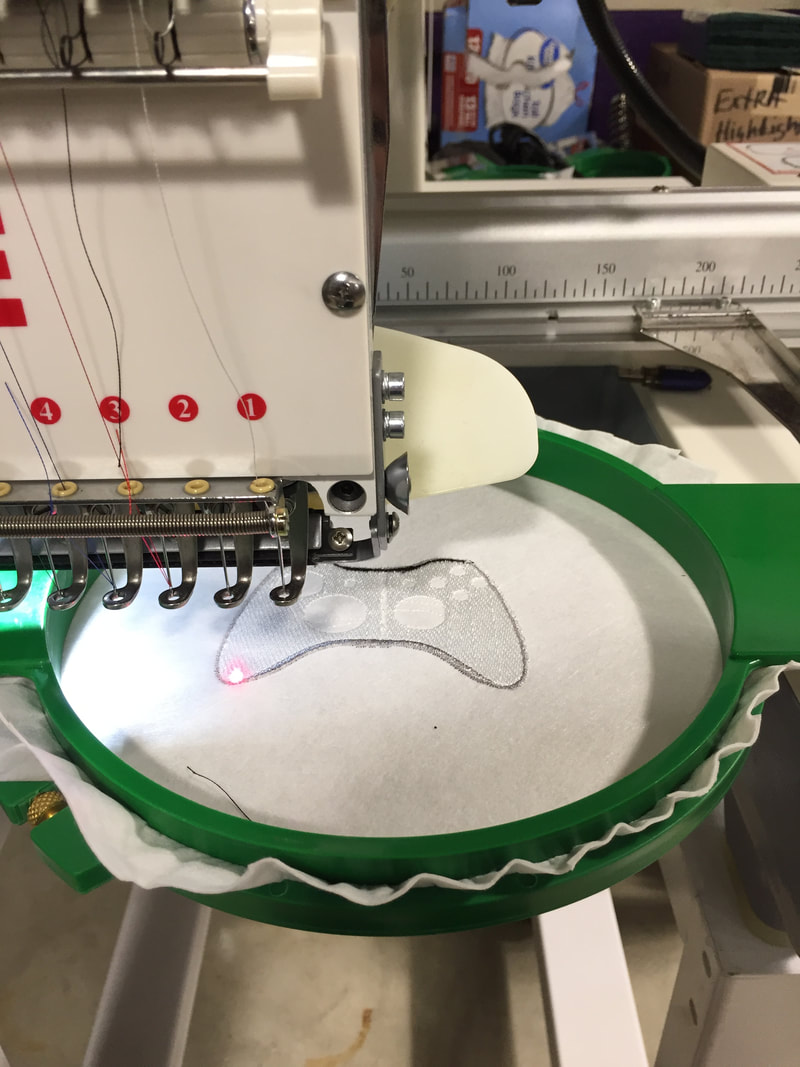
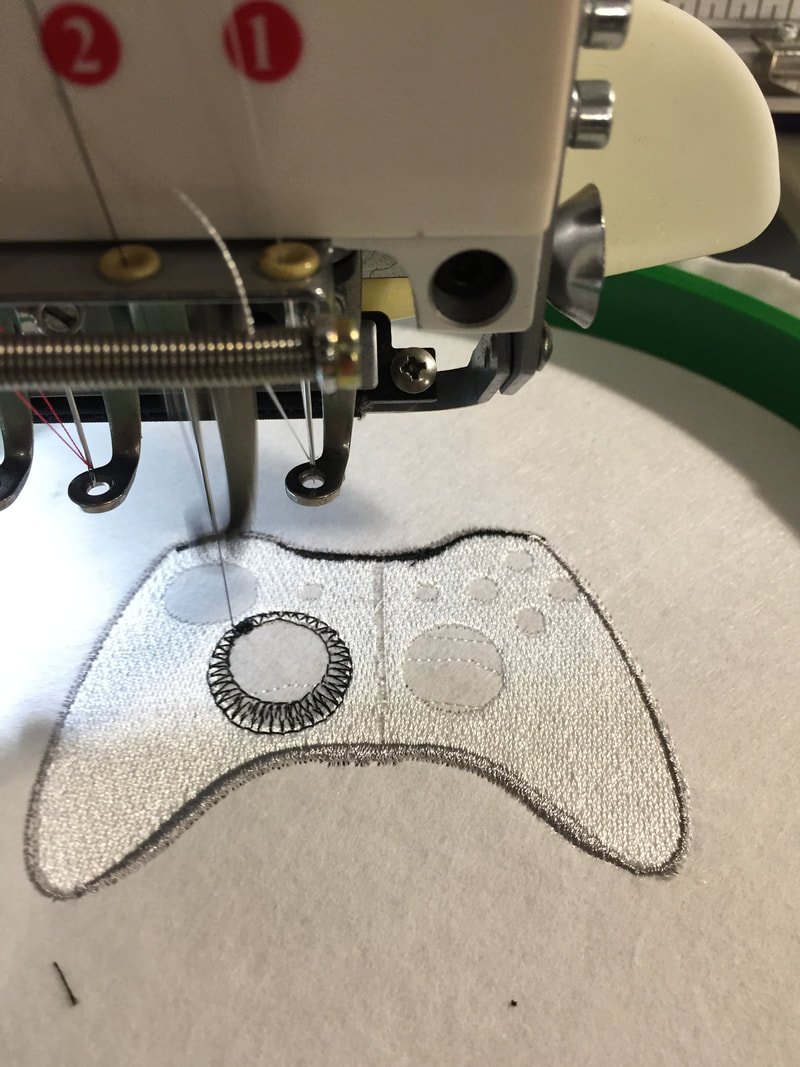
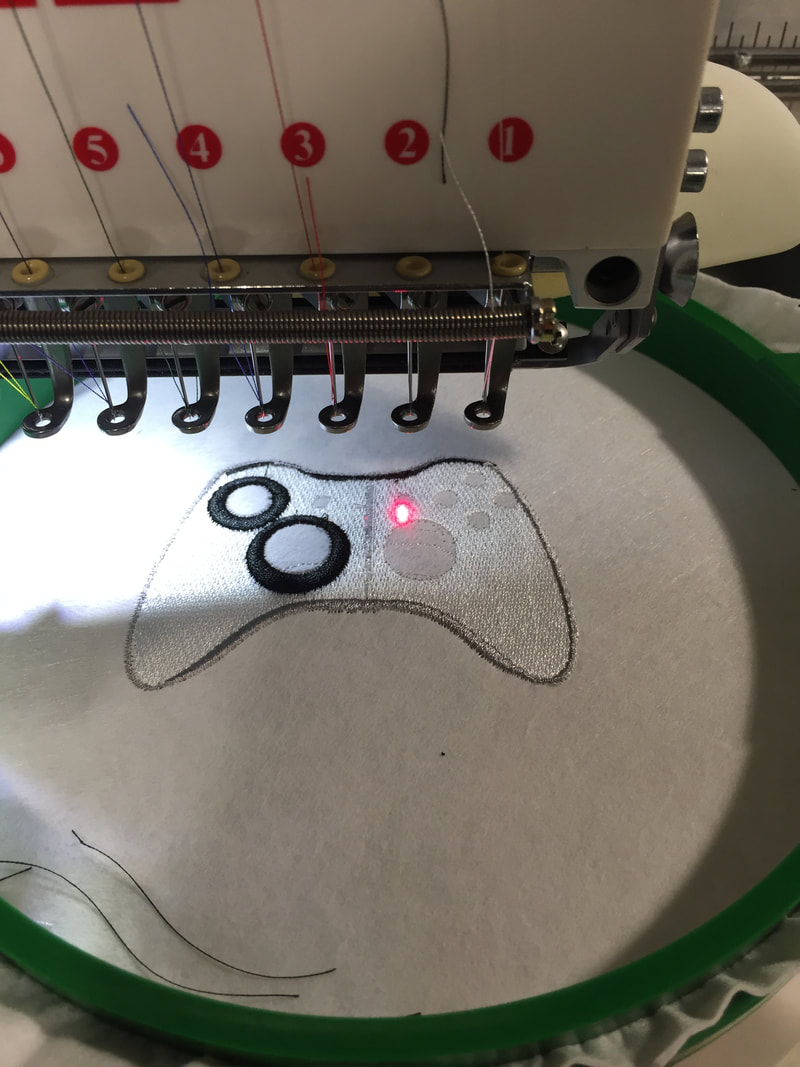
In the gallery, there are multiple pictures of the machine embroidering the controller design.
A short video of the machine embroidering the circles around the thumb sticks.
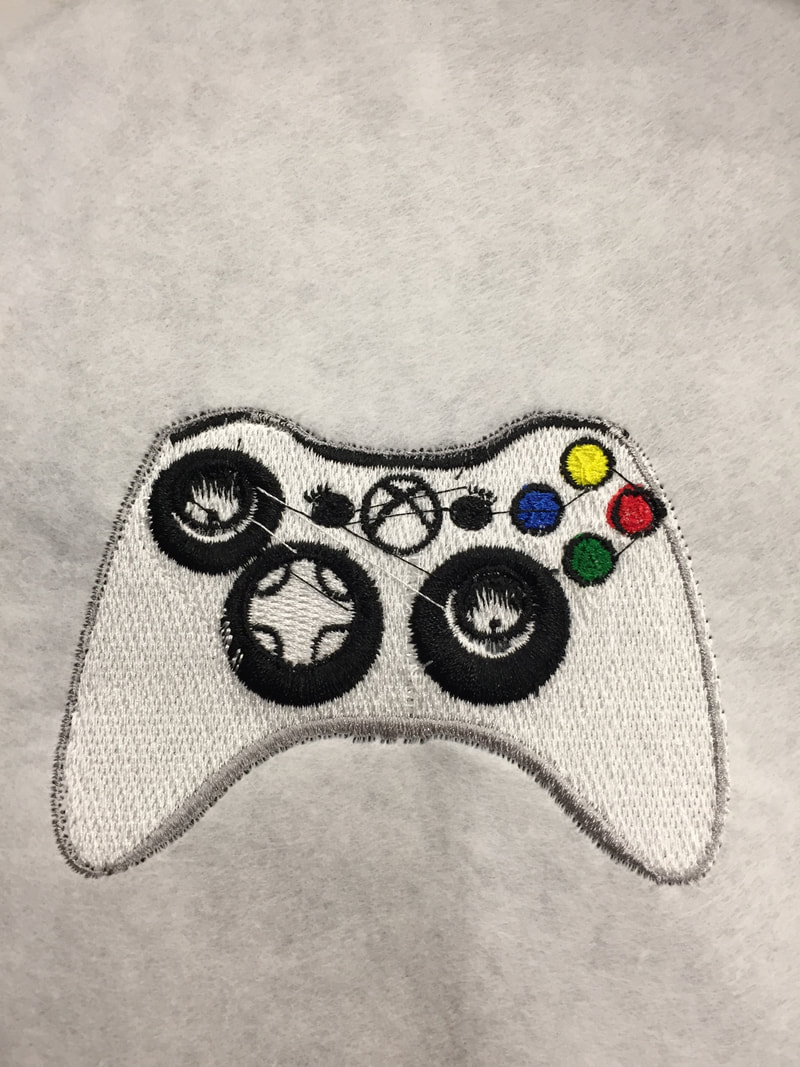
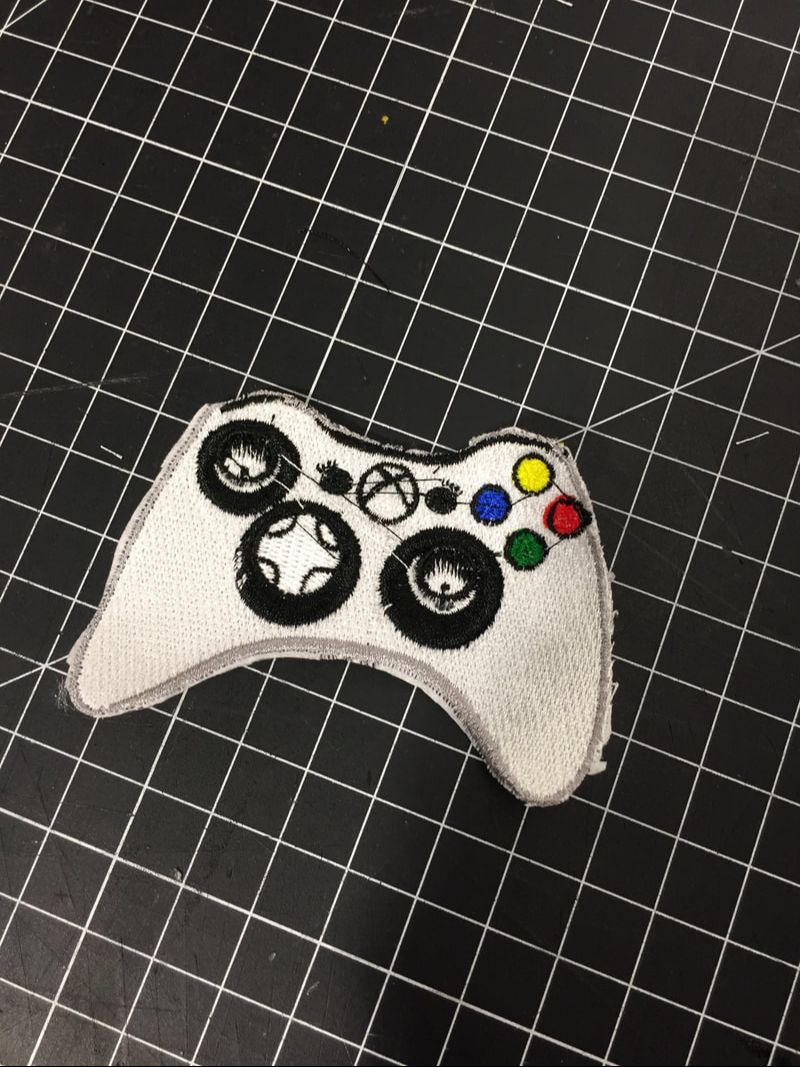
Final Product
|
|
In this unit, I got to learn about the great amount of detail that goes into making something as simple as a patch. Depending on how complicated you want your design to be, you can have several layers, and several different colors. I also learned that it's important to well document all of your progress on a project. Besides that, I'm impressed with how my XBox controller turned out.
